Starting a blog or website requires basic processes like picking domains, selecting hosting services, and much more. Selecting a hosting service that is so reliable that you never have to switch providers is the pinnacle of webmastering.
However, not all hosting companies are created equal regarding service quality. You may have to relocate your WordPress site if you choose incorrectly.
Site migration isn’t as difficult as you would think. Although it may take some time, switching to a new web host is simple and can pay off greatly if you go for a service that provides superior speed and functionality.
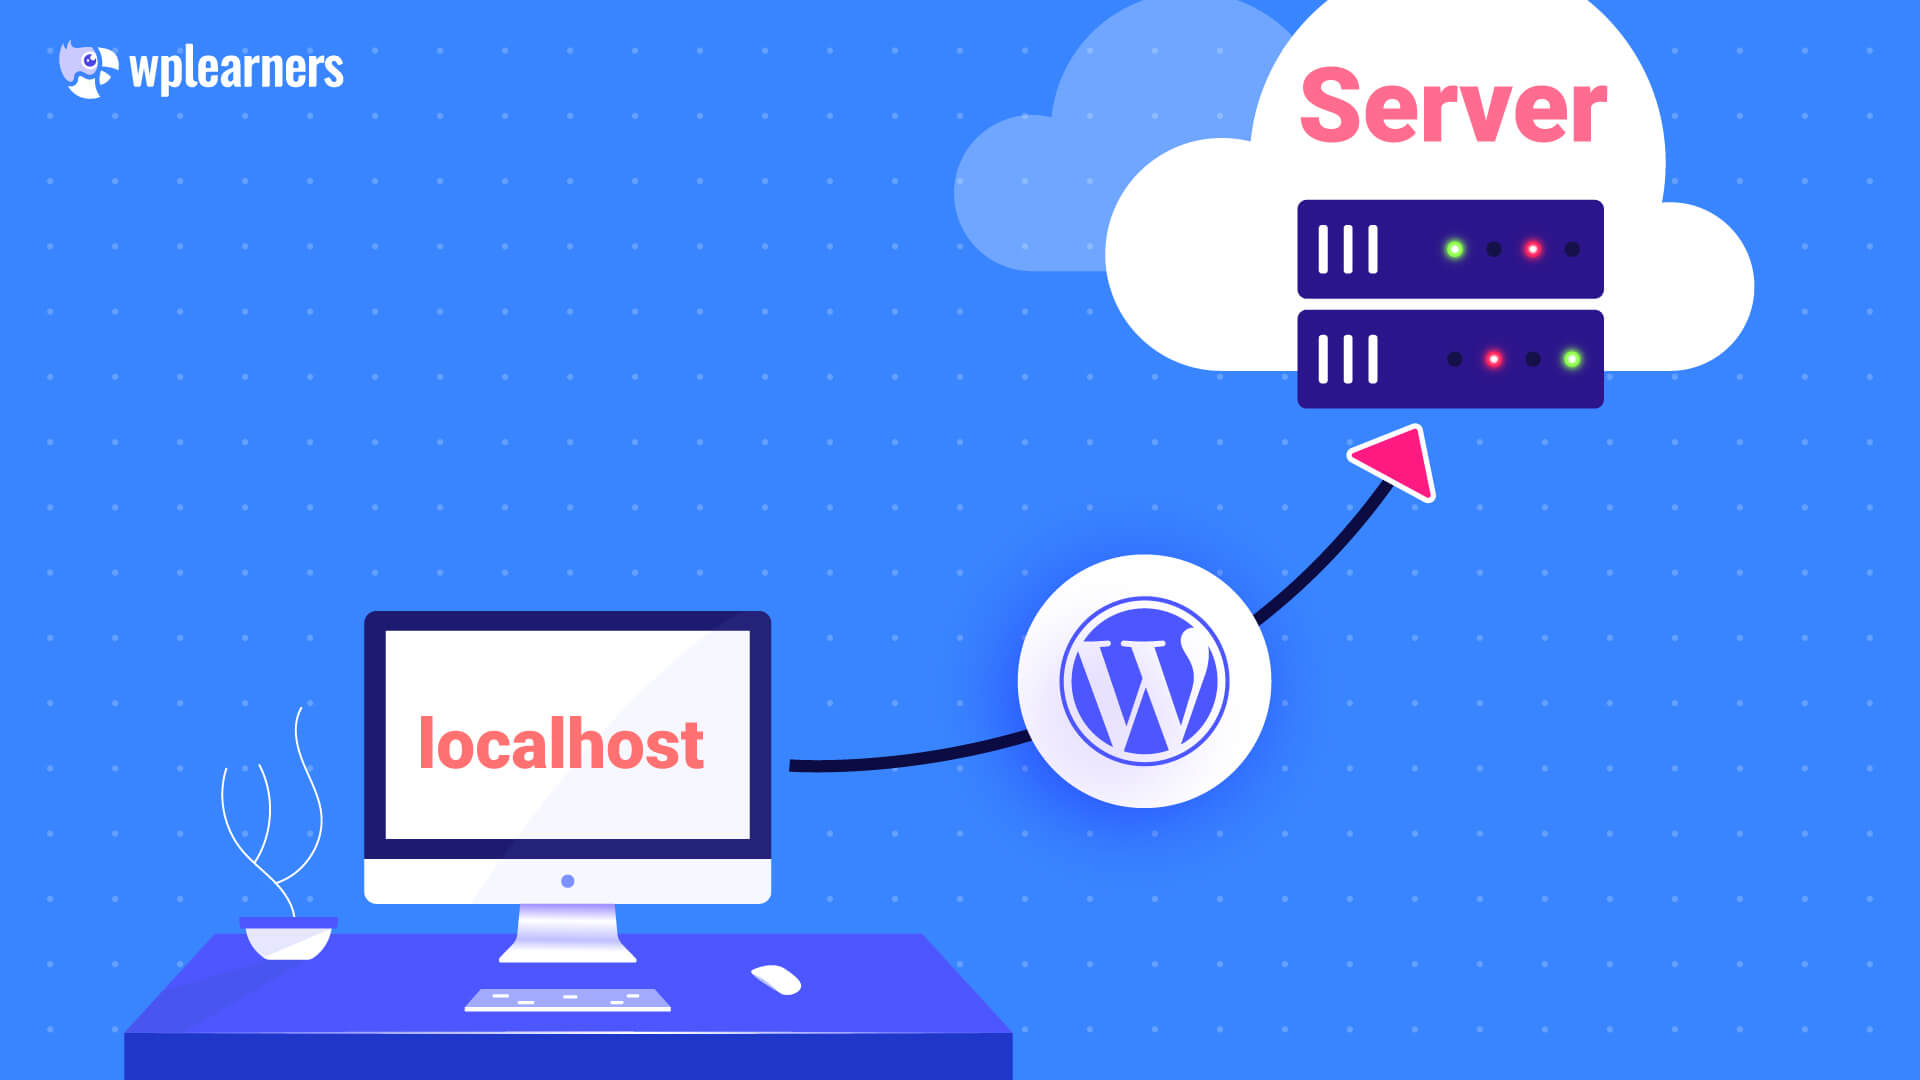
Here, we’ll walk you through on how to migrate a WordPress from localhost to server from scratch. Then, we’ll show you how to streamline the process with the help of certain WordPress migration tools. Let’s go, then!
Migrating The Easy Way
Using a plugin like All-in-one migration to transfer your site from your localhost to server is the most streamlined and secure option. To test the plugin, install it on your localhost and export your site’s files.
Install the plugin on your new WordPress site on the live server, then import the identical files. After you’re finished, it’s a good idea to create a backup of your WordPress site in case something goes wrong.
Migrate a WordPress from Localhost to Server: Prerequisites
There are a few situations in which you can wish to migrate a WordPress from localhost to server:
- First, you’ve installed WordPress locally and created a new site.
- Second, you need to revive an old website that you have a backup or bundle of.
- Third, you’ve previously attempted a site migration and run into problems.
We’ve accounted for all three possibilities and laid out the most reliable, error-free approach.
To begin the process of transferring your site from a localhost to server, you will need the following three things:
- Domain name
- Website Hosting
- WordPress Installation
You may skip this section and go straight to the procedures if you already have everything set up. However, if you lack these foundational components, this is how to get them:
Domain Name
A domain name is the address of your website, like example.com. Domain registrars, such as Namecheap.com sell web addresses to anybody who wants one.
Website Hosting
You’ll need a server if you want your website to be accessible online. But, again, signing up with a web host like BlueHost is the most common choice.
Many services, like NameCheap, bundle domain name registration and web hosting for new sites into one convenient package.
The most cost-effective option for hosting is a shared hosting plan, in which your website is hosted on the same server as other users. This may not be the safest choice, but it won’t break the bank.
Here’s a selection of the finest WordPress hosting services.
WordPress Installation
WordPress installation on your server is a simple process with most web hosting. Installation is as simple as a single click, or you may follow the included instructions.
Those interested in learning more about the WordPress installation process may refer to our comprehensive WordPress installation guide.
Your WordPress site can be moved from localhost to server once you have bought a domain name and hosting plan and installed WordPress on your new server.
How to Migrate a WordPress from Localhost to Server
There are two ways you can move your site to a server from your localhost:
- Using a plugin
- Manually
Using a plugin is the simplest and most secure option. However, many variables are involved, and delicate dynamics are at play during a site transfer. For example, if a single piece of code is missing or in the wrong place, your site will not work.
In this article we’ll show you the easy process to migrate a WordPress site from localhost to server.
How To Use A Plugin To Migrate a WordPress from Localhost to Server
Numerous plugins exist that might greatly simplify this process. One of them is the All-in-One WP Migration plugin.
If you use All-in-one WP Migration, you may move your site without specialized expertise and without leaving the WordPress dashboard.
Keep in mind that the free version of All-in-one WP Migration only works with sites under 512MB in size. However, for only $69 more, you can have unlimited access to the premium version forever, which is suitable if your site is far bigger than that.
Export Your Local Site
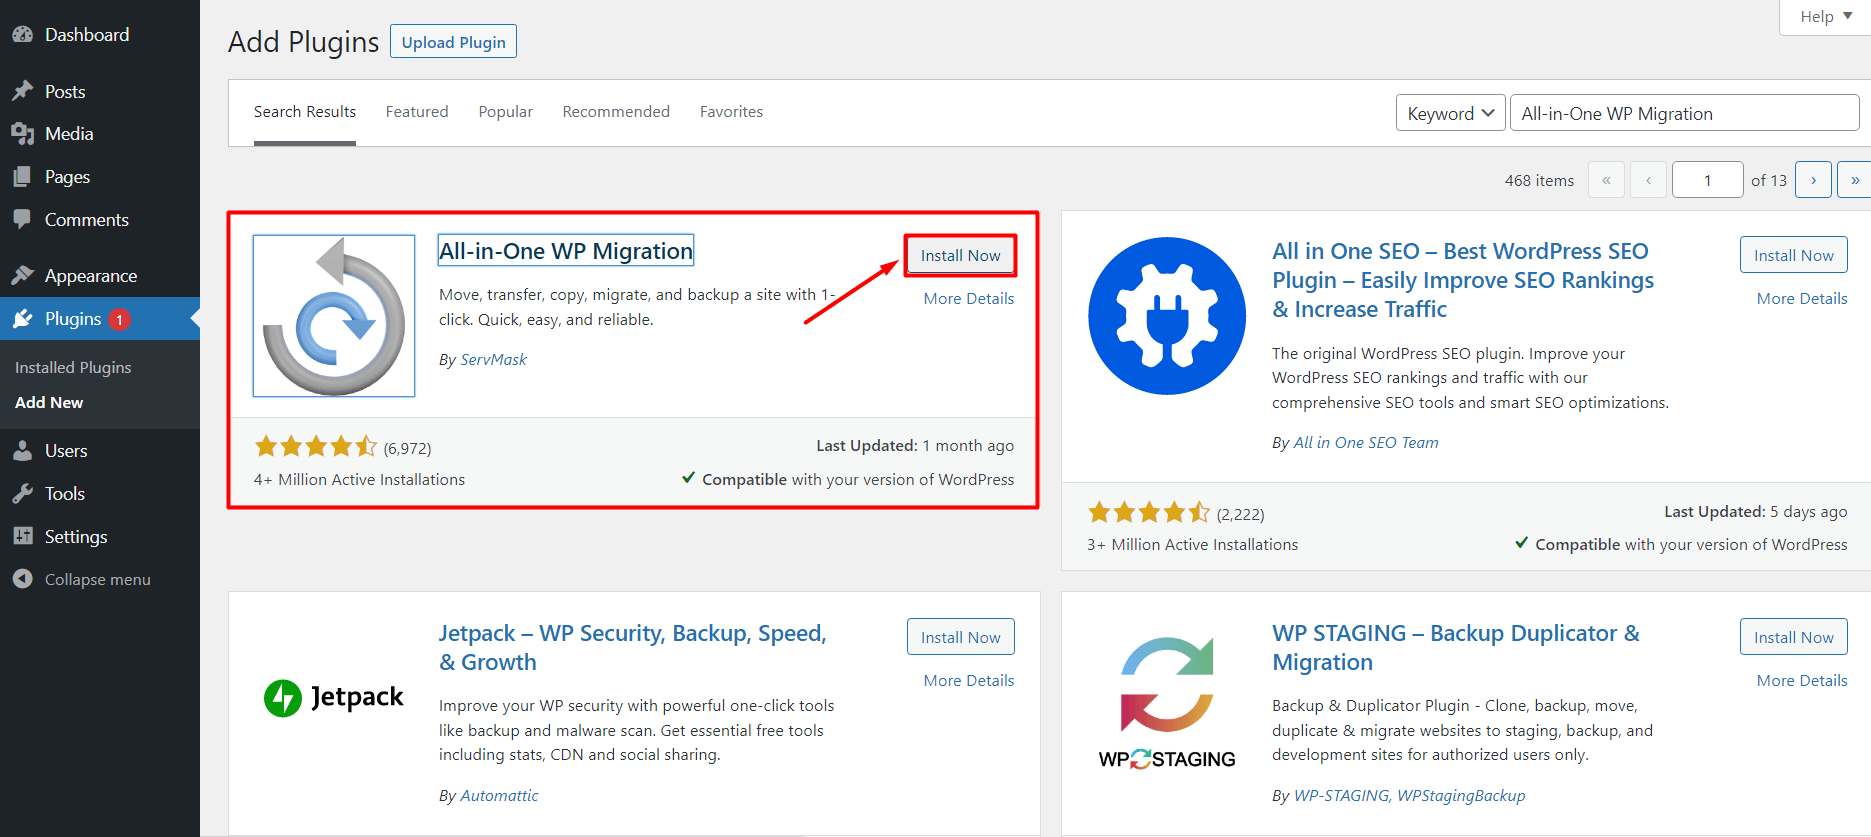
First, you should go to the Plugins menu in your WordPress installation on your localhost. Look for a plugin called “All-in-One WP Migration.” Get it set up, and then activate it. Here’s a guide on how to install WordPress plugins.
Second, choose the All-in-One WP Migration from the left-hand dashboard panel. A dropdown menu with the choices “Import,” “Export,” and “Backup” will display. Click the Export button.
Third, a new page will load, with several export choices for your site.
Fourth, choose the Advanced settings menu if you just want to exclude particular pages from the export.
You may safely ignore such choices. When you import your site, the All-in-one WP Migration plugin automatically renames the files and folders to match the new URL.
These more complex capabilities are designed for customers with a little more expertise who may wish to tweak the transfer process to their liking. Double-check any changes you make here since they may influence your account’s security settings. If you are unfamiliar with the procedure, we advise that you forego this step.
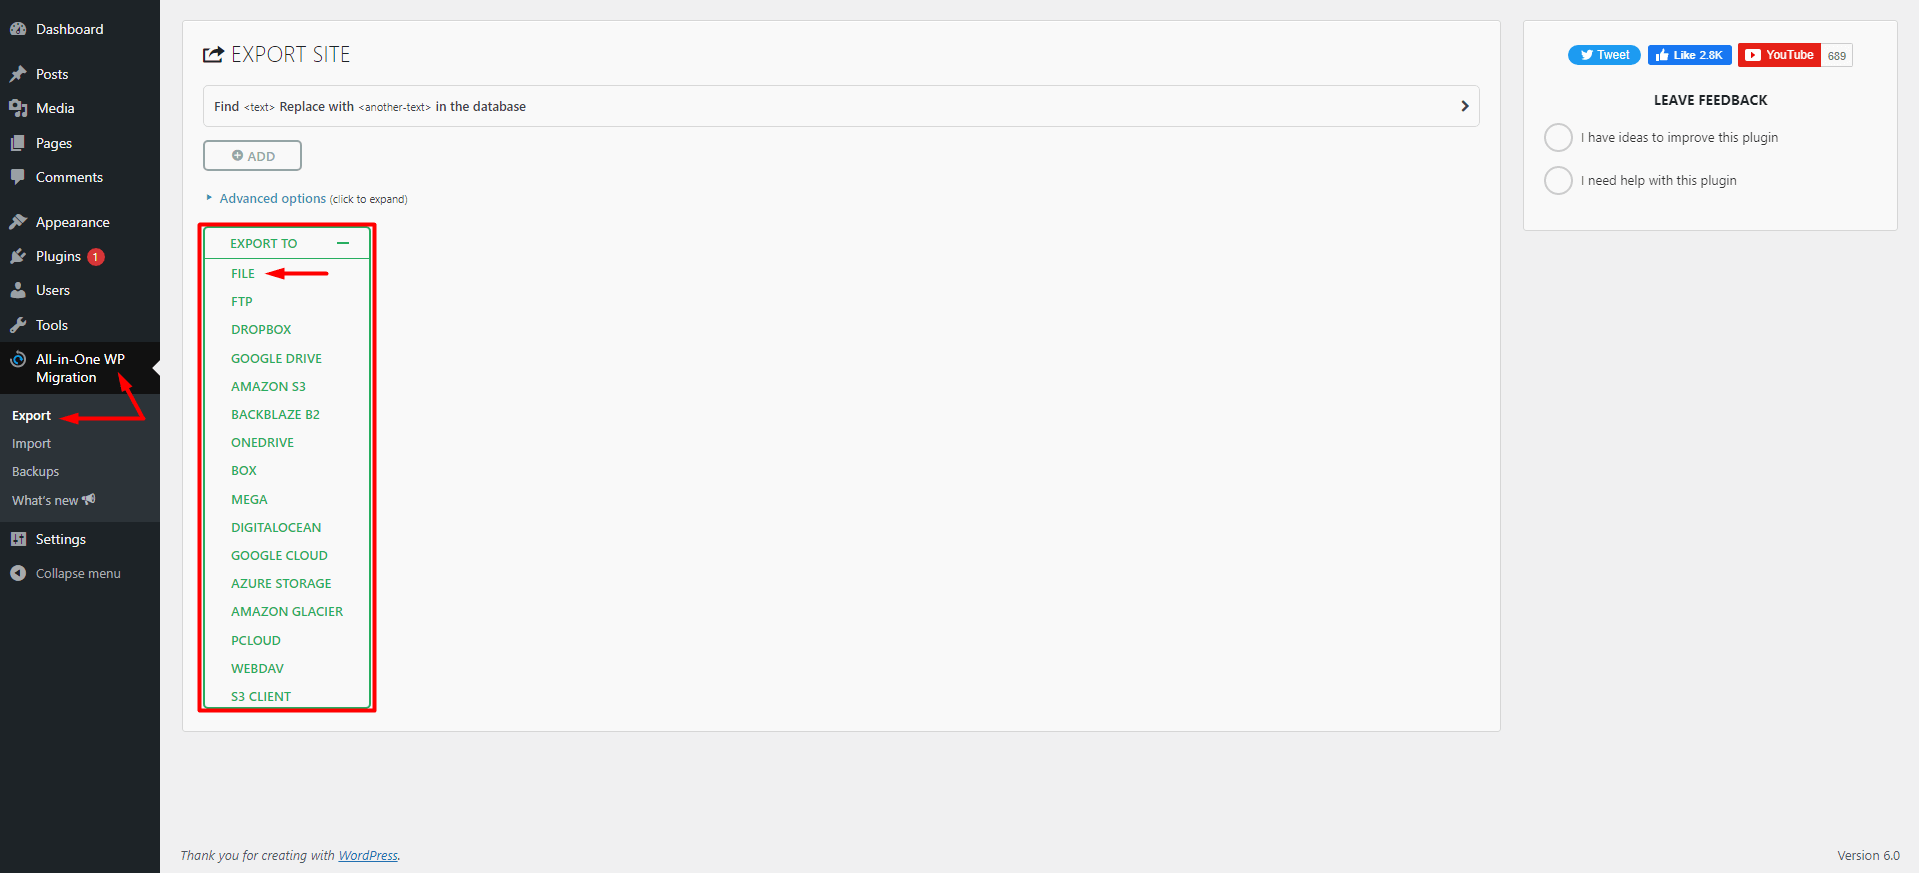
The fifth step is to choose export To from the dropdown list. To open a file, choose this option.
This concludes the discussion. When you use All-in-one WP Migration, your site will be duplicated. Therefore, the time needed is highly proportional to the size of your site.
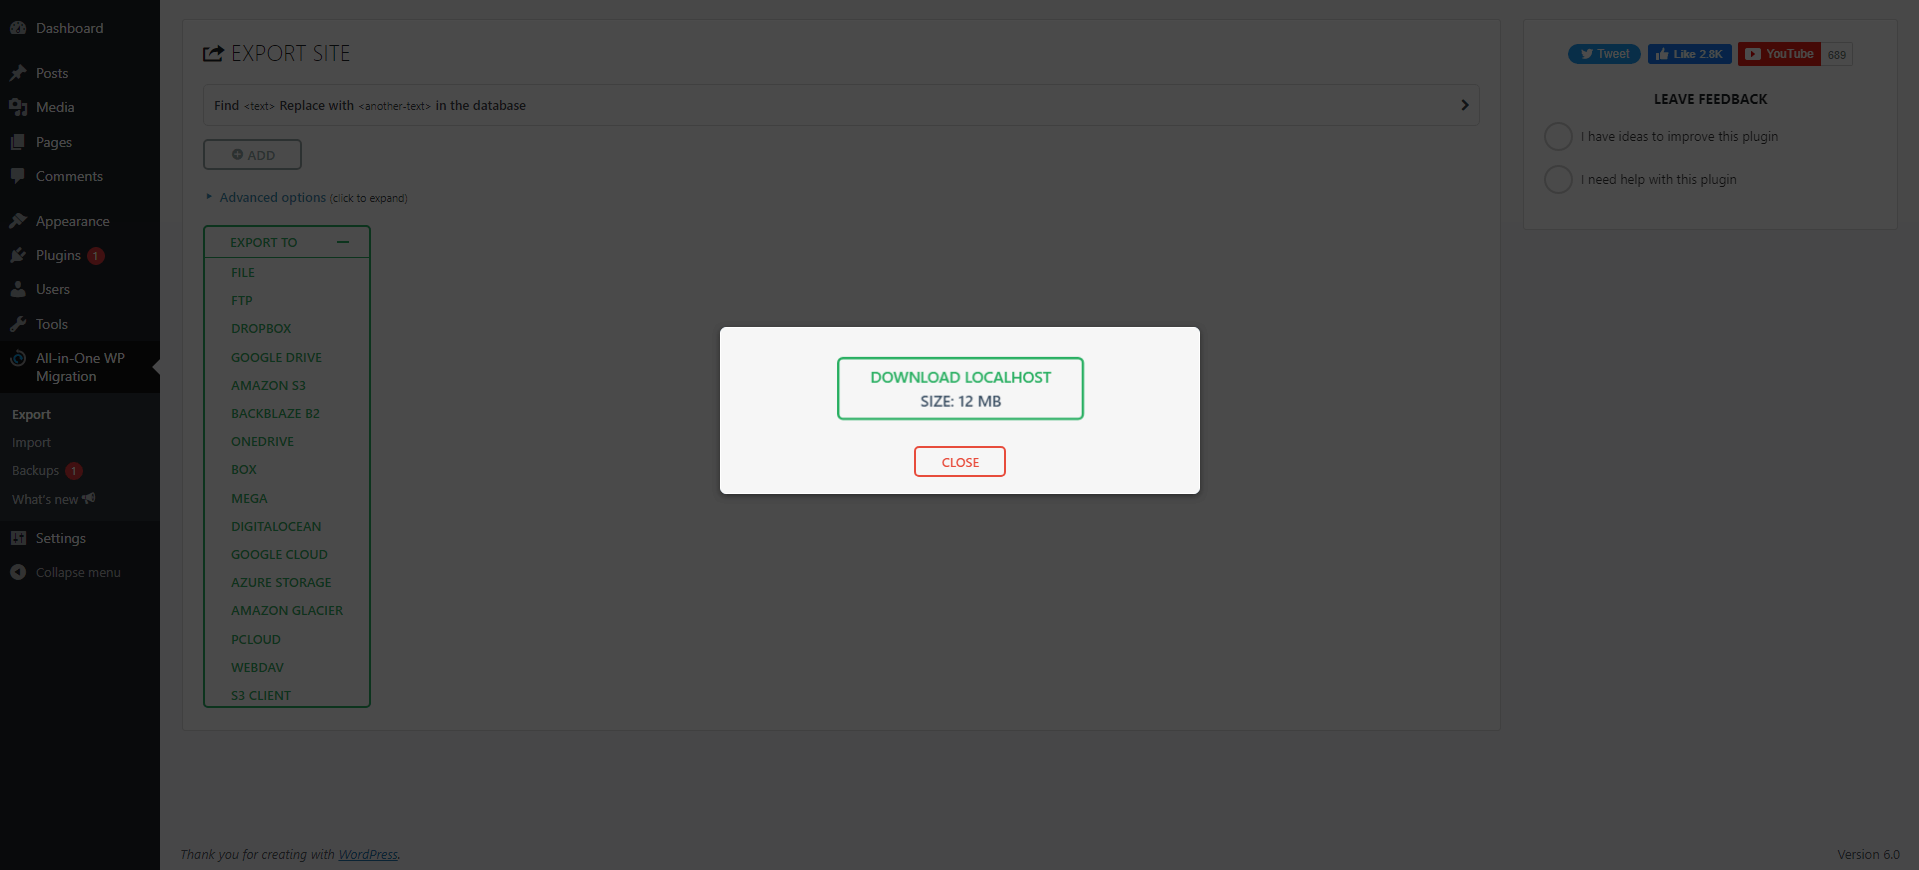
After the process is finished, a button to download the file will appear.
Even the download will take some time. It takes from 10 to 20 minutes, which is about normal for a WordPress site.
Import the File to Your Server
One, access the WordPress installation you created with your site server. Next, enter the WordPress admin area using the wp-admin URL.
Second, make sure you put in the All-in-one WP Migration plugin while you’re doing it.
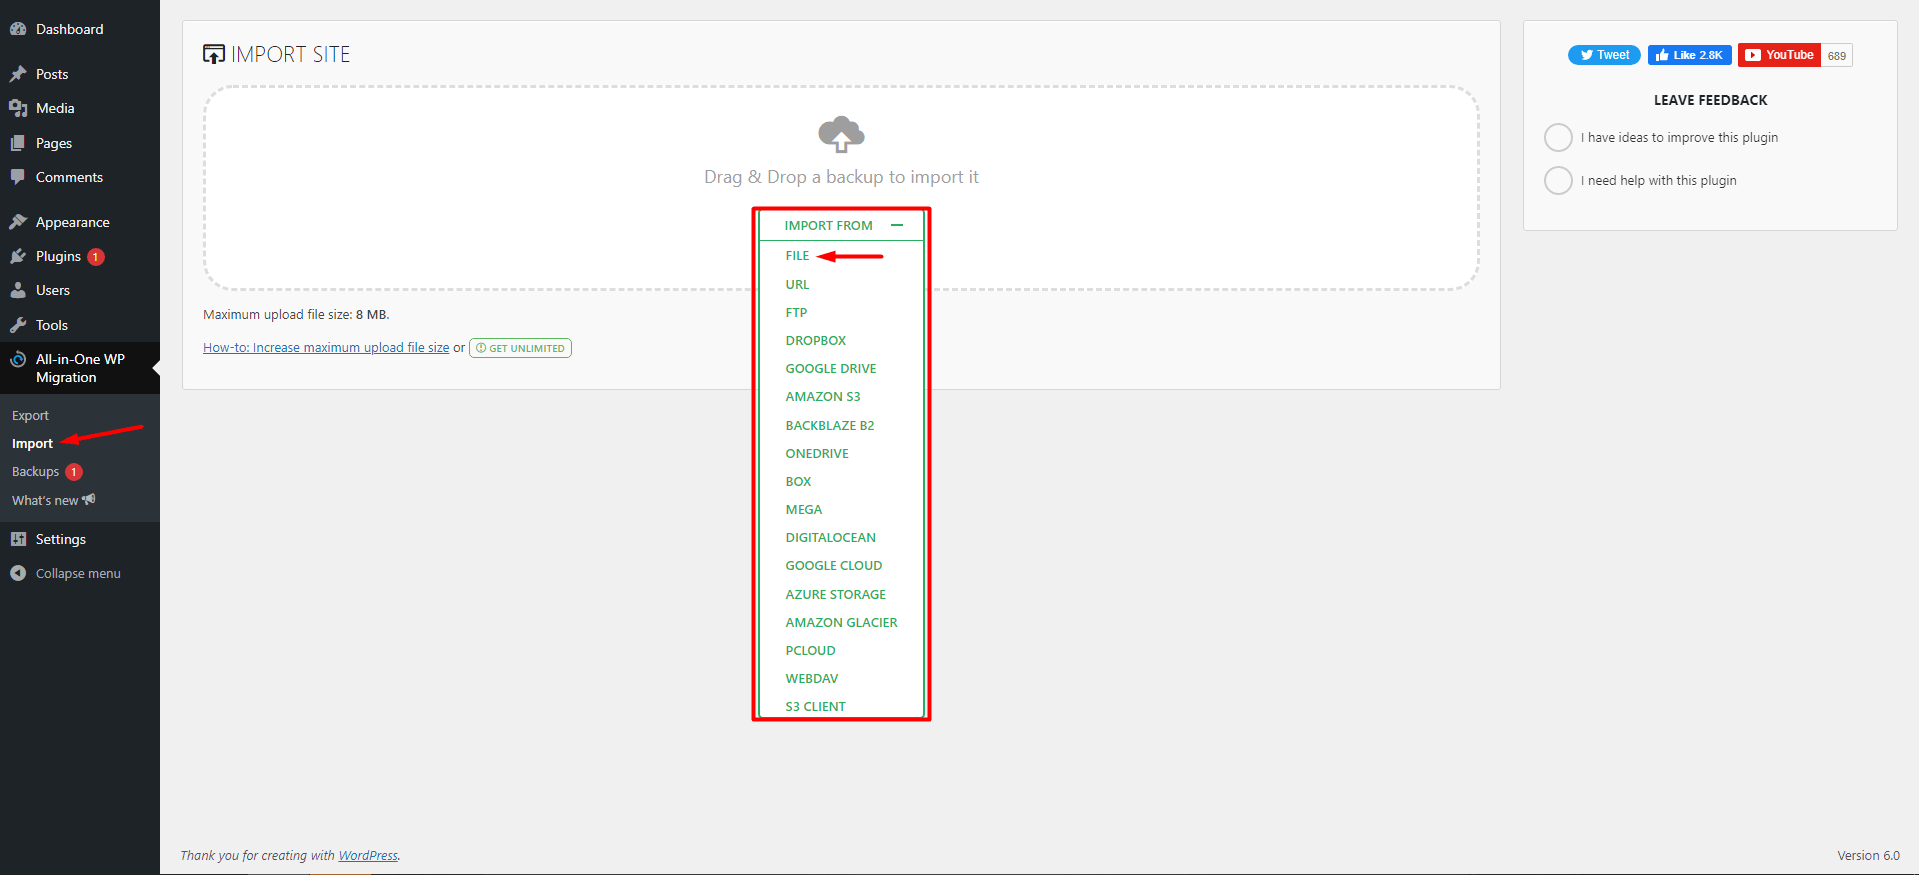
Third, after locating the plugin, click the Import button.
The fourth step is to go to the Import page and use the import from the dropdown menu. To open a file, choose this option.
Lastly, select the file you just pulled down from the localhost.
It will take a few minutes, but the plugin will do all the hard work for you, so it’s time well spent.
When the import is finished, the plugin will send you a notification and prompt you to log in to your site.
That concludes it, folks.
Congratulations! Using the All-in-One WP Migration plugin, you have successfully transferred your WordPress site from your localhost to server.
Conclusion
We hope that this article assists you to migrate a WordPress from localhost to server.
Moving a WordPress site from a localhost to server is not simple. Several details must be attended to when transferring a WordPress site from a localhost to server.
You can easily transfer your local WordPress installation to a live system using the procedure mentioned above. Get in contact with your hosting provider if you encounter any problems during the migration to resolve them.
