Optimizing the website for faster speed and enhancing the user’s online experience is a crucial aspect. This can be achieved by optimizing images and media files. This can impact the performance of your site and affect its SEO.
WordPress is a popular content management system on the Internet. Almost 41% of sites are made with WordPress. Optimizing the WordPress image sizes, and compression plugins, exploring how they can help optimize your images to boost your site’s speed, optimize for search engines, and improve the overall user experience.
Understanding Image Optimization
Image optimization is the process of reducing the image file size without compromising much on quality. It involves finding the right balance between the number of bytes and the total number of pixels in the image. By optimizing WordPress website images, you ensure that the output image is of the best quality and contains the least amount of data, resulting in smaller media file sizes. This, in turn, enhances the site’s speed and performance.
Benefits Of Optimizing WordPress Website Images
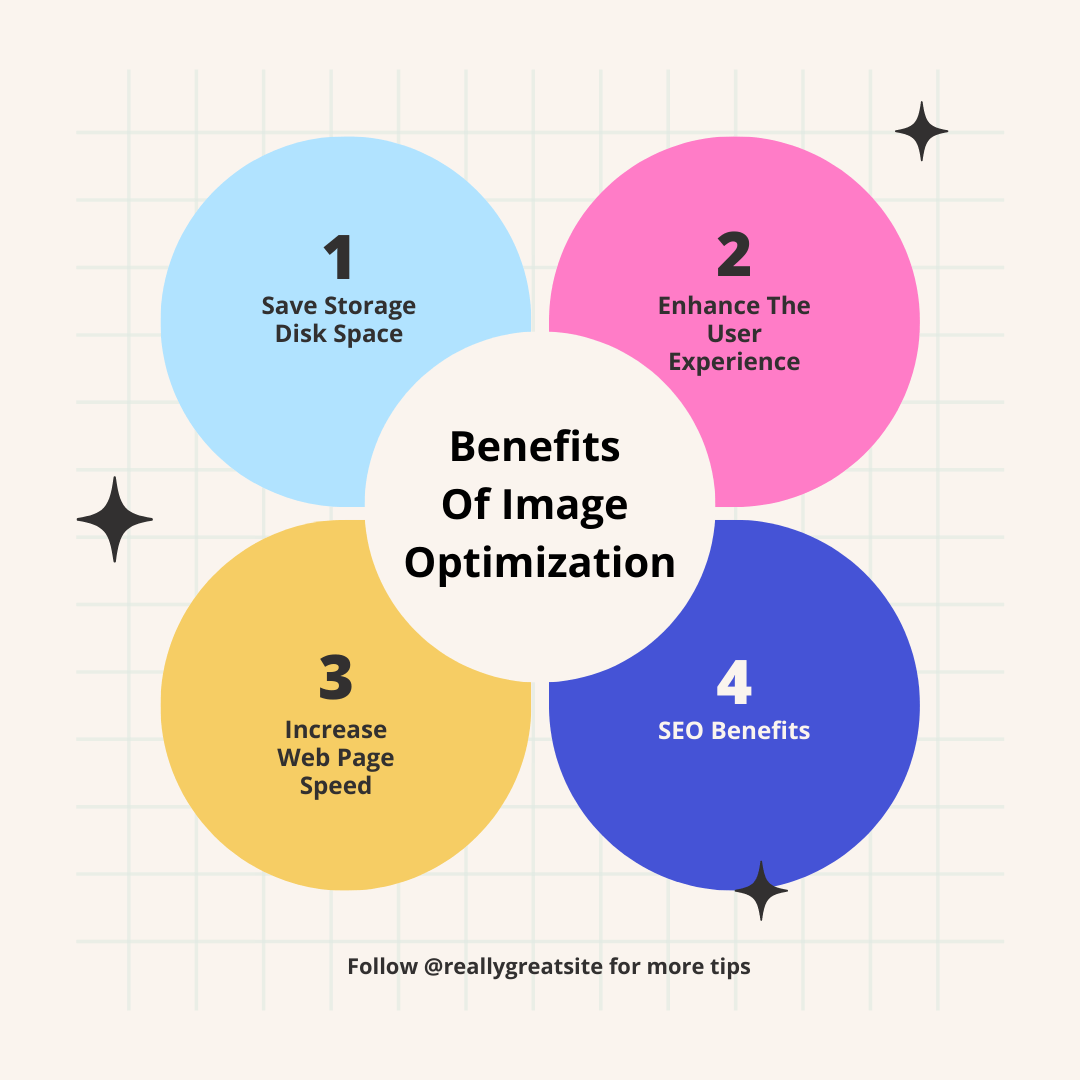
Optimizing the images on your website offers benefits that significantly enhance your overall online presence. Here are some advantages:
Save Storage Disk Space
When you optimize your WordPress images, you reduce their file sizes, saving valuable disk space on your hosting server. By minimizing the space taken up by images, you can optimize your website’s performance and ensure efficient management, which is particularly important for eCommerce websites.
Enhance The User Experience
Users today have increasingly shorter attention spans, and studies have shown that if a website takes more than 3 seconds to load, around 40% of visitors will leave. By optimizing WordPress website images, you reduce their file sizes and improve loading times. This directly contributes to a better user experience, minimizing bounce rates, and increasing the likelihood of visitors staying on your site longer.
Increase Web Page Speed
Image compression, a key aspect of optimization, allows you to reduce image file sizes without sacrificing quality. Compressed images load faster, resulting in improved web page speed. Faster loading times not only enhance the user experience but also positively impact your website’s search engine rankings.
SEO Benefits
Search engines like Google favor websites that prioritize speed and performance. On the other hand, slow-loading sites are penalized and experience drops in search engine rankings. Optimizing images significantly improves loading times, which can lead to better SEO rankings and increased visibility in search engine results.
Optimizing Images For WordPress
There are many ways we can optimize the images for a website.
Efficient image optimization is crucial for website performance and user experience. Let’s explore various ways we can optimize images.
Optimize Your Images Before Uploading Them To WordPress
For the best results, it is very important to optimize your images before uploading them to WordPress. Optimizing images in advance, there are some benefits, which we will discuss in further discussion.
Before optimizing the image, let us know some details about the image.
Different Image File Formats
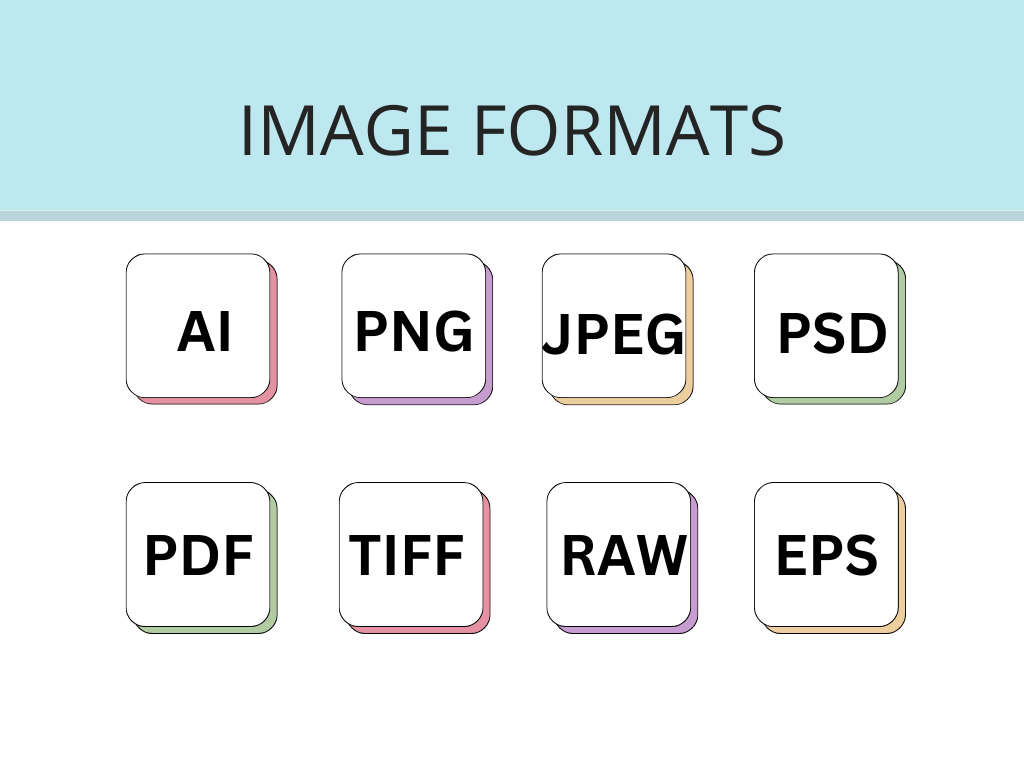
The two widely used image formats on WordPress are JPEG and PNG. All other formats are used very little and serve specific purposes depending on the context and requirements.
JPEG (or JPG): Joint Photographic Experts Group, is a widely used format known for its “lossy” compression. It is suitable for both print and web content, offering vibrant colors with up to 16 million shades.
PNG, or Portable Network Graphics, is a format that supports lossless compression. It is excellent for editing and maintaining image quality, particularly with a transparent background. While PNG offers fewer colors than JPEG, it is a good option for graphics, icons, and high-quality images on the web.
- PSD: Photoshop Document,
- EPS: Encapsulated Postscript,
- TIFF: Tagged Image File,
- PDF: Portable Document Format,
- INDD: Adobe Indesign Document,
- RAW: Raw Image Formats
- AI: Adobe Illustrator Document.
Default WordPress Image Sizes
Image size matters a lot. When you upload an image, WordPress automatically generates four different image sizes known as “default sizes.” These sizes include
- Thumbnail size (150 x 150 pixels) ,
- medium size (maximum 300 x 300 pixels),
- large size (maximum 1024 x 1024 pixels), and
- full size (the original size of the uploaded image).
WordPress does this to ensure that you can select the best image size based on the placement and context of the image on your website. Having multiple sizes readily available allows for optimal display and ensures that your images look their best across different devices and screen resolutions.
Best Image Sizes for WordPress Articles
Choosing the best image sizes for WordPress is essential to ensuring fast-loading, high-quality images that look good and are responsive on various devices.
You can also check out How to Change WordPress Featured Image Size for a better explanation.
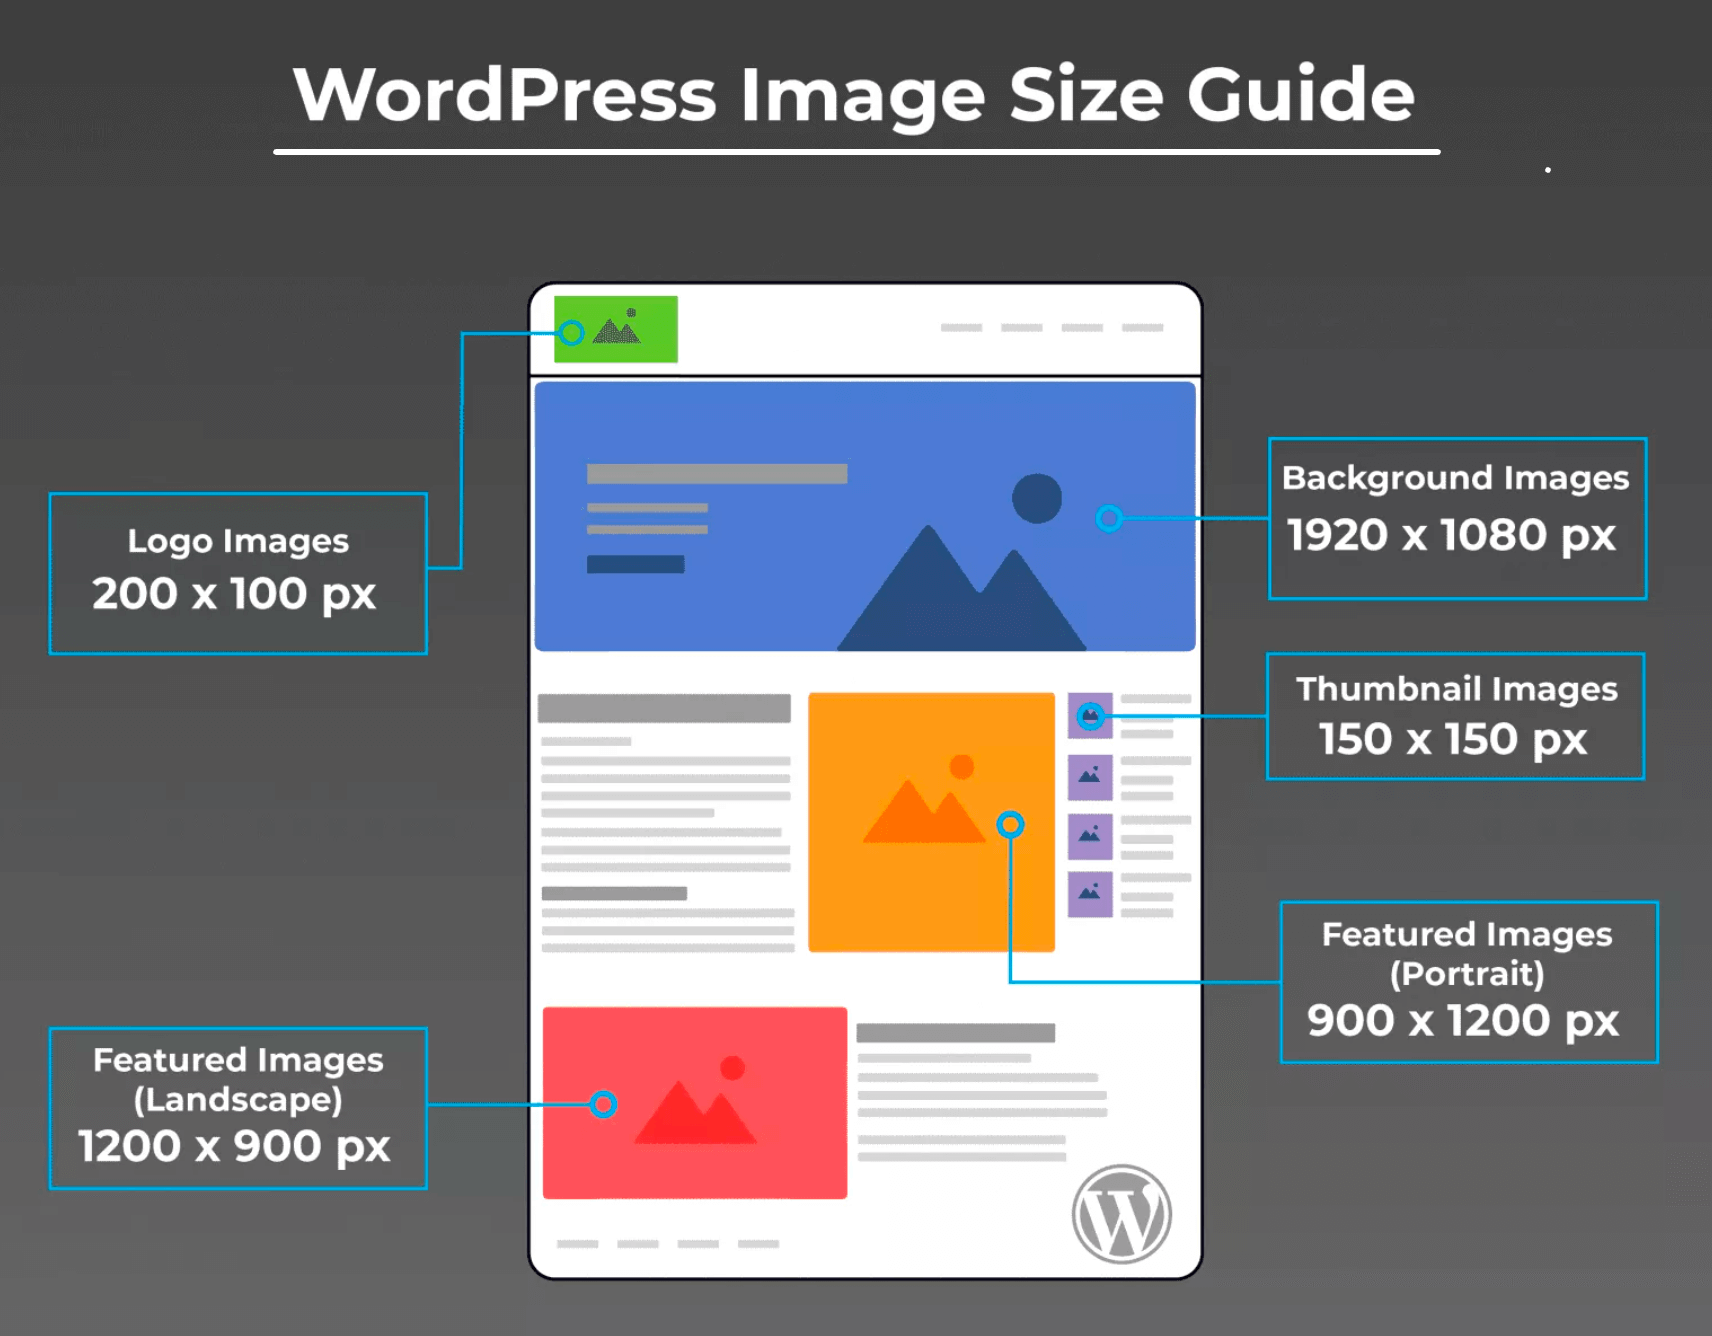
Consider the following recommended image sizes for different elements of your website:
- Blog post image size: opt for 1200 x 630 pixels to provide a visually appealing and shareable image for your blog posts.
- Header image size: Use a banner size of 1048 x 250 pixels to create an eye-catching header that sets the tone for your website.
- Featured image size (landscape): Choose 1200 x 900 pixels to showcase landscape-oriented featured images prominently.
- Featured image size (portrait): For portrait-oriented featured images, go with 900 x 1200 pixels.
- WordPress background image size: Utilize 1920 x 1080 pixels for a visually immersive background that fits most screen resolutions.
- Logo image size: Optimize your logo image at 200 x 100 pixels to ensure it appears sharp and clear on your website.
- Thumbnail image size: Set the thumbnail size to 150 x 150 pixels to display compact yet visually appealing previews of your content.
Here’s a guide on How to Add Featured Images to a Category in WordPress.
By utilizing the best image sizes for different elements of your WordPress website, you can create an engaging and visually appealing user experience.
Here’s a guide to starting blogging with zero experience.
WordPress Image File Size Optimization
Previously, we optimized the image size. Now we will optimize the file size.
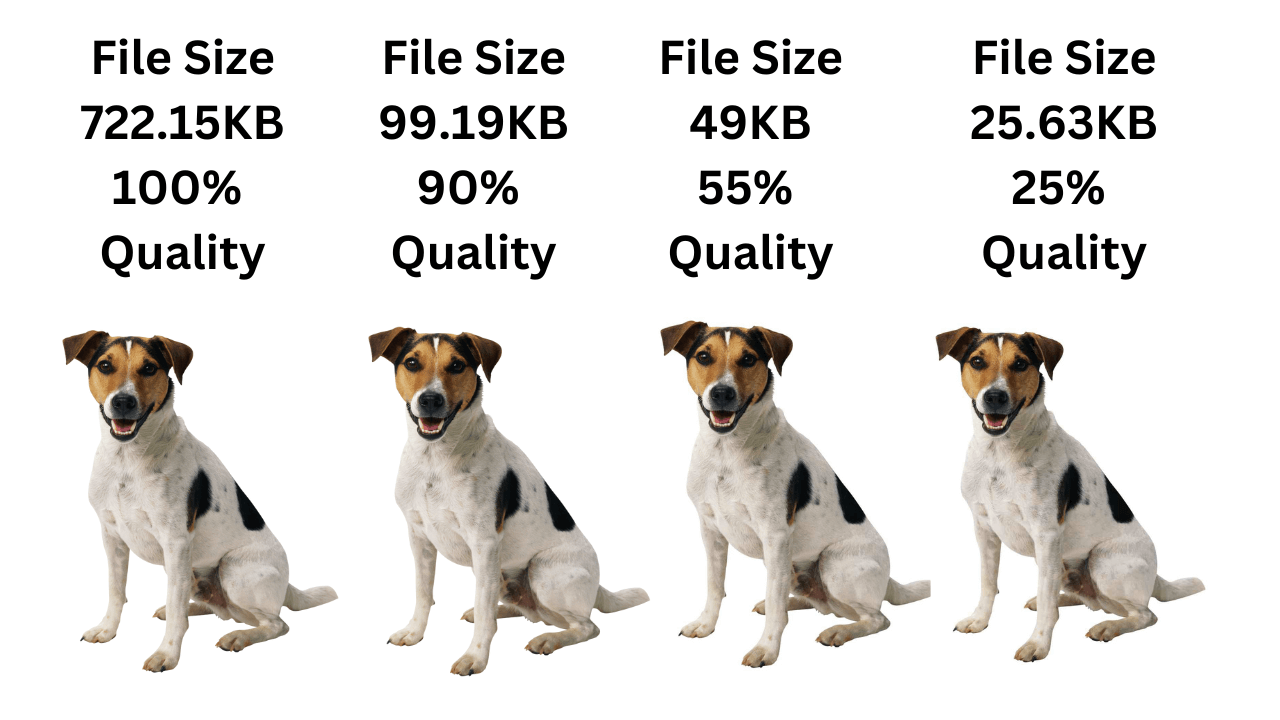
Here, I took a high-quality dog image as an example. The original image file size is 722.15 KB. Now we have compressed the file size using the image compressor. We compressed it to 90%, 25%, and 25%. As the image file size is compressed, the image quality decreases. We need to choose the optimal image compression depending on its placement on our website.
Here is the result of our image compression test.
Free Image Compression Tools Online
When it comes to free online image compression tools, there are several available. Here are some popular ones.
They offer convenient tools to compress JPEG and PNG images. These platforms allow you to reduce the file size and format of your images without compromising on quality, optimizing them for web use.
Note: Image compression should be applied to all images on our site. or else your site will perform poorly.
On a few sites, while compressing, you are asked for DPI. So let us know a little about the DPI.
DPI: IMAGE DOTS PER INCH RESOLUTION
Image resolution is measured in dots per inch (DPI). DPI plays a crucial role in determining the quality of an image. It tells about the number of dots or pixels per inch in an image.
A higher DPI, such as 300 DPI, indicates a higher resolution compared to a 200 DPI image. 72 DPI is the accepted standard for web and screen displays. However, for printing purposes, a higher DPI, such as 300 DPI, is recommended to ensure sharp and detailed prints. It is important to consider the intended use of the image when determining the appropriate DPI for optimal visual results.
Note: It is recommended to set 72 DPI for all WordPress images.
Optimizing Images After Uploading To WordPress Media
It is always advisable to optimize your images before uploading them onto the WordPress media, but there are instances when you might need to optimize images after uploading. This is particularly relevant for older websites where images were not optimized initially, and deleting and re-uploading them is not a viable option due to their impact on Google ranking.
Lazy Load Image Technique
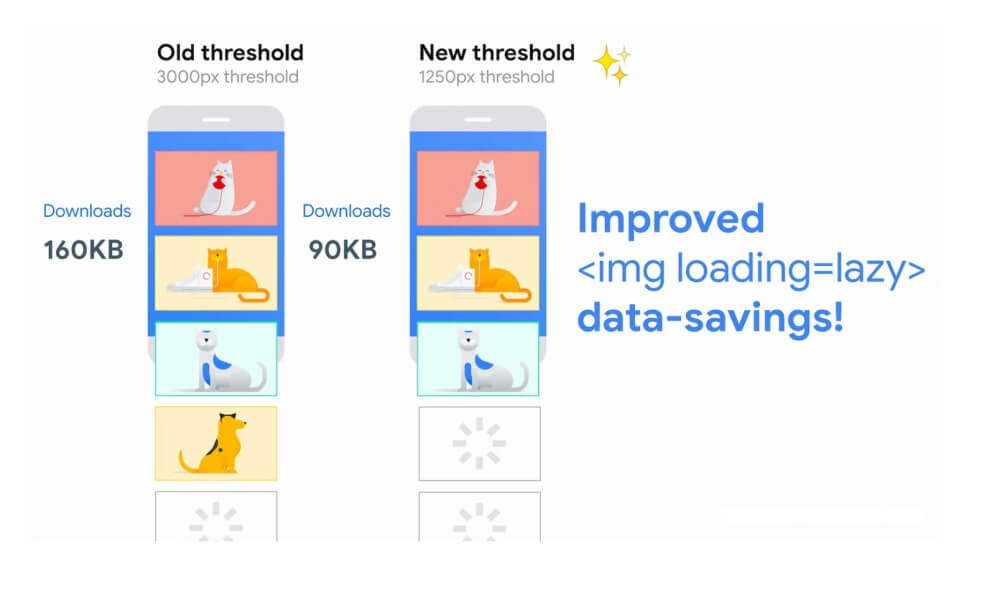
One technique to optimize images after uploading is implementing the Lazy Load Images technique. Lazy loading delays the loading of images until they are about to come into view, reducing the initial page load time.
WordPress plugins like a3 Lazy Load and Smush offer convenient solutions to enable lazy loading on your website. These WordPress plugins allow images to load only when they are visible in the browser’s viewport, which results in faster page loading and an improved user experience.
Cache Images
Cache images to save site data and enhance website performance. By storing images on a third-party server closer to the user’s browser, loading times are significantly reduced. There are various ways to implement image caching, including coding techniques, plugins, and more.
Caching images helps deliver a seamless user experience by ensuring quicker image loading and reducing the data transfer between the server and browser.
Optimizing Images for Search Engines
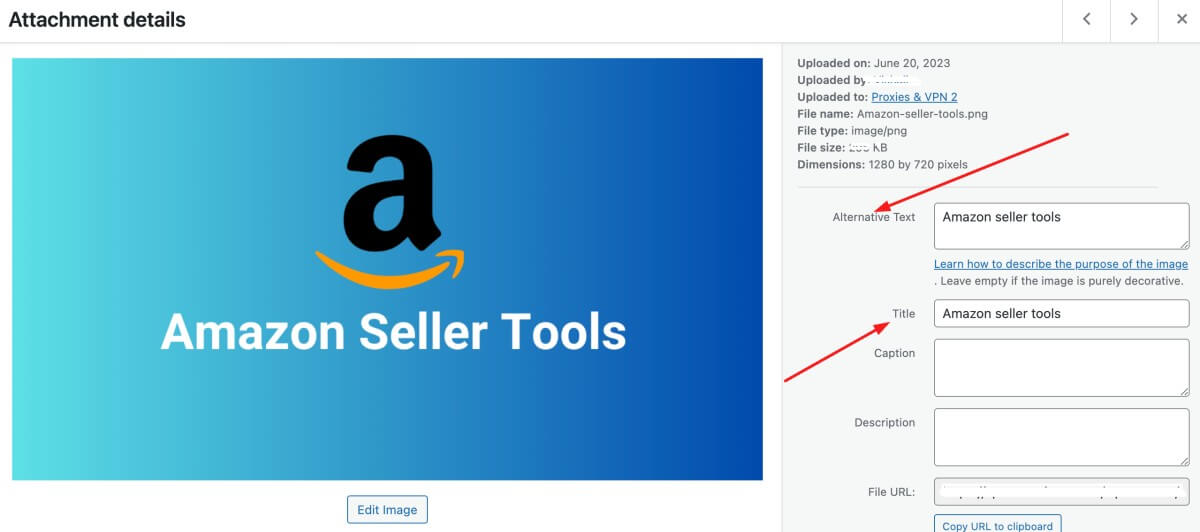
Correctly formatting image titles and file names with relevant keywords can significantly improve their visibility in search results. Search engines analyze these attributes to understand the content of your images, making them more accessible to users searching for related topics.
Two crucial elements in image optimization are alt text and title tags.
Alt Text
Alt text provides descriptive text that appears when an image cannot be displayed, helping search engines understand its context.
Title Tags
Title tags, on the other hand, offer additional information about the image.
By optimizing image alt text and title tag elements, you improve the chances of your images appearing in Google image searches, driving organic traffic to your site.
Resources You’ll Love
Here are some articles you might find helpful:
- 11 Best Keyword Rank Checker Tools
- Best WordPress Magazine Plugins
- 13 Best WordPress Grid Plugins 2022
- 11 Best WordPress Plugins for Blogs
- 15 Best Gutenberg Blocks Plugins
Final Conclusion
Optimizing WordPress website images improves site performance, user experience, and search engine visibility. By following the above-mentioned optimization practices, you can maximize the potential of your website images, and create a visually appealing and optimized online presence.