WordPress published its new theme for the year 2023. It was created to integrate their latest design tool seamlessly, Full Site Editor.
As easy as the WordPress design tool seems to be, it still needs to be clarified for new users as well as for people who were used to the previous design tools.
Like the Twenty Twenty-Two theme, the Twenty Twenty-Three theme features a Full Site Editor (FSE).
The inclusion of the Full Site Editor means there are no longer separate tabs for tools such as widgets, menus, backgrounds, and even the theme file editor in the WordPress dashboard.
Why Do We Need a Menu?
A menu makes our website more accessible and aesthetical. It saves a lot of visual space to make our website look much cleaner. We don’t want visitors to feel lost when they visit our website.
Menus in WordPress are basically a group of links put together to display specific items, posts, pages, etc., in a single location.
We can group them based on categories or similarities, but we can also group them if they are irrelevant to each other.
Navigation becomes much easier with the help of a menu, which leads to a better experience for the people who visit our website.
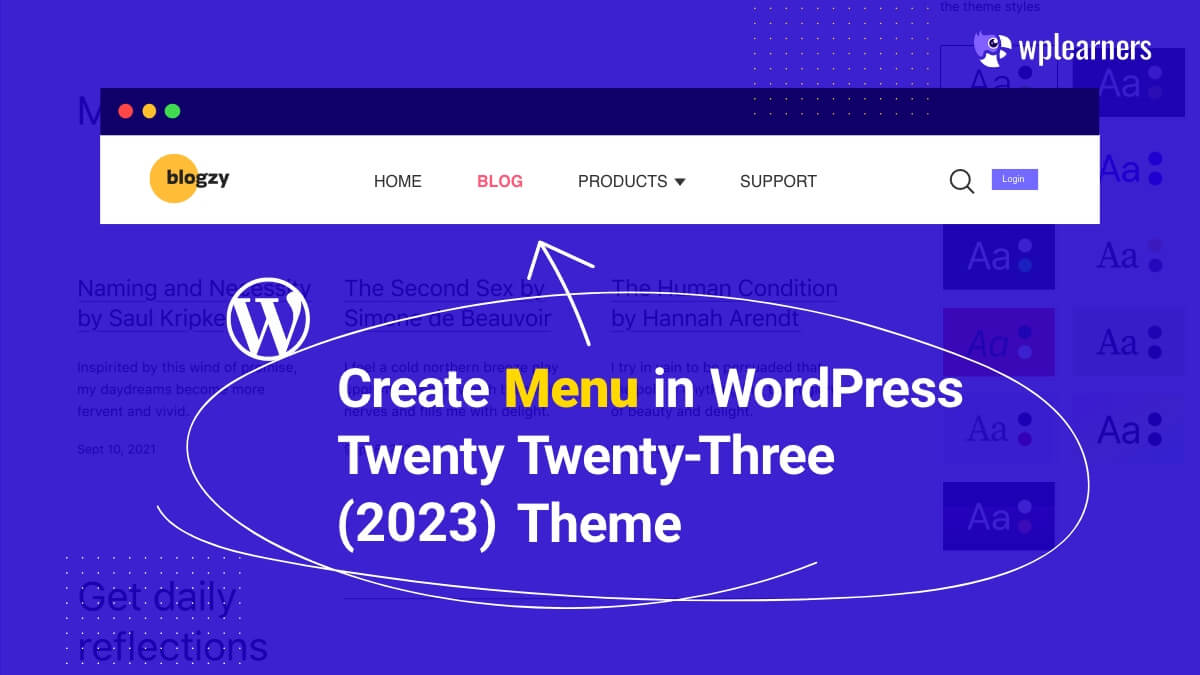
How to Create Menus in WordPress Twenty Twenty-Three Theme
With the introduction of Full Site Editor, there isn’t a separate tab to create our menus. Prior to the Twenty Twenty-Two theme, we could edit our menus by heading over to the menus tab in the WordPress Dashboard.
In this step-by-step tutorial, we will show how to add or edit the menu in the WordPress Twenty Twenty-Three theme using the Full Site Editor.
Step 1: Go to the WordPress Dashboard
Even though the dashboard doesn’t have a separate tab to create a menu, it is still the hub where most of our work is put together. In this instance, we will use it to access the freshly added Full Site Editor.
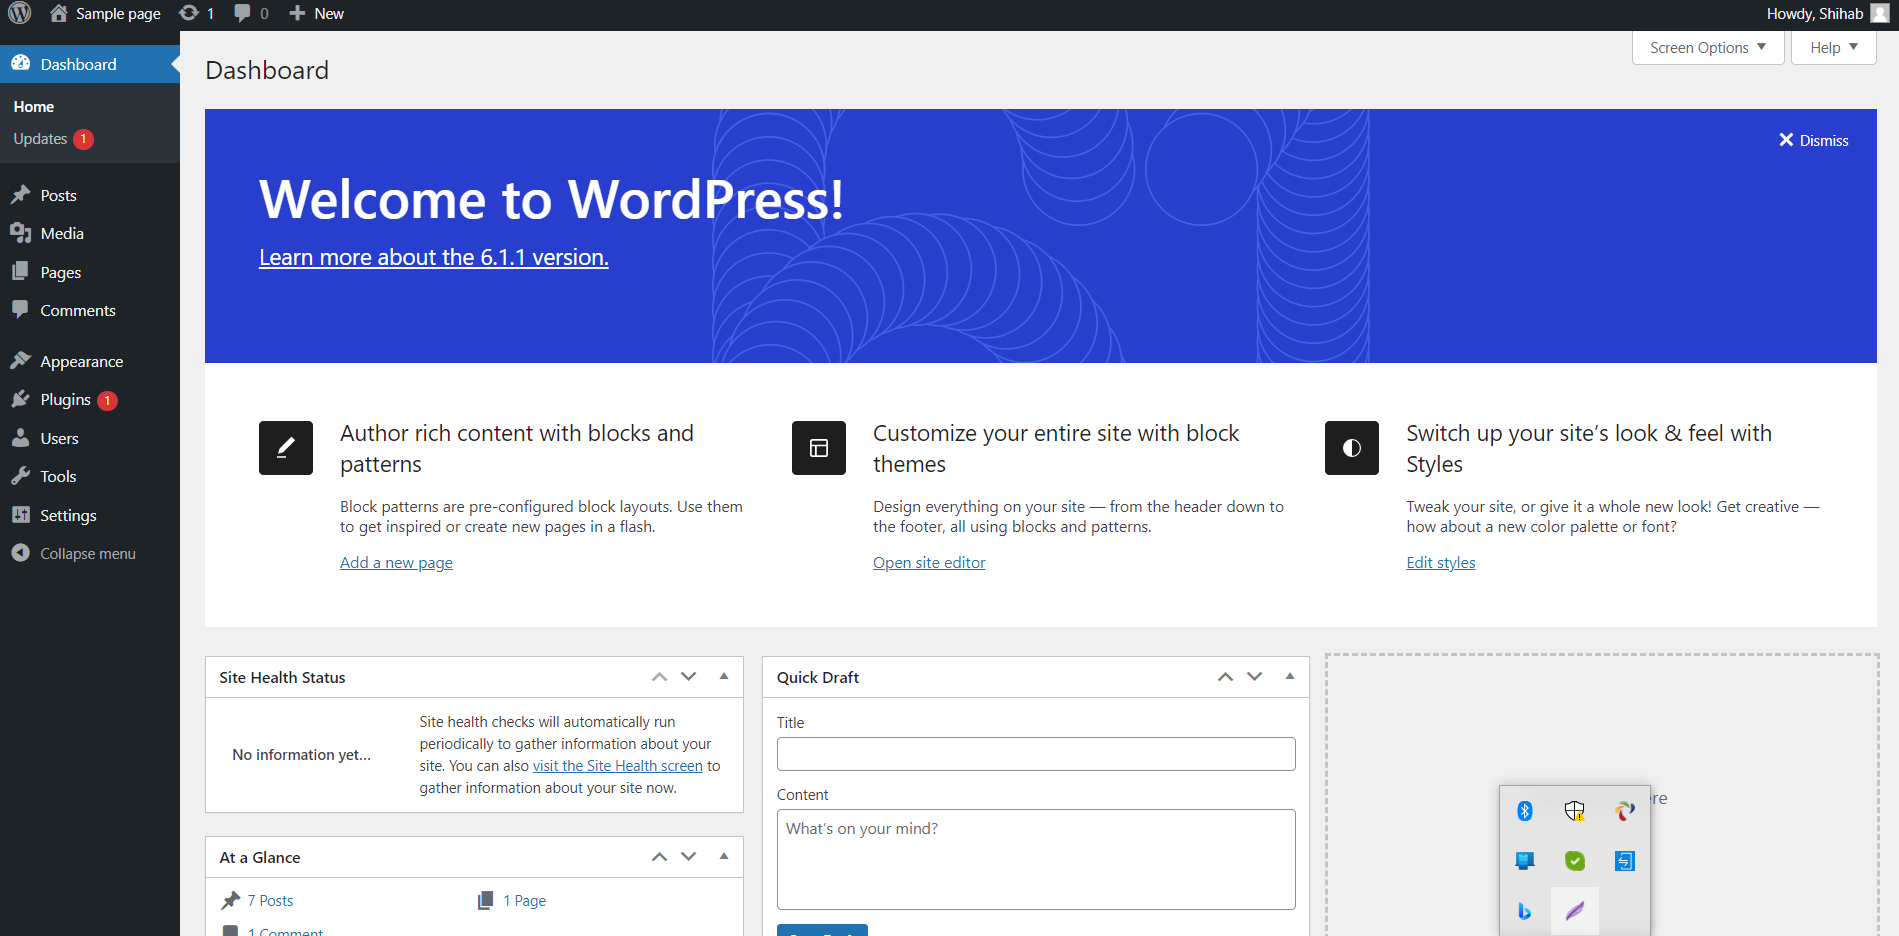
- Go to the WordPress Dashboard
Step 2: Go to Full Site Editor
To access the Full Site Editor, we must click on the appearance tab on the left side of the dashboard. Prior to 2022, or if we were using a different theme, we could find multiple options like Widgets, Menus, Backgrounds, etc.
Now, with the Twenty Twenty-Three theme, there are only two options, Editor and Theme. Clicking on the editor will take us to the Full Site Editor.
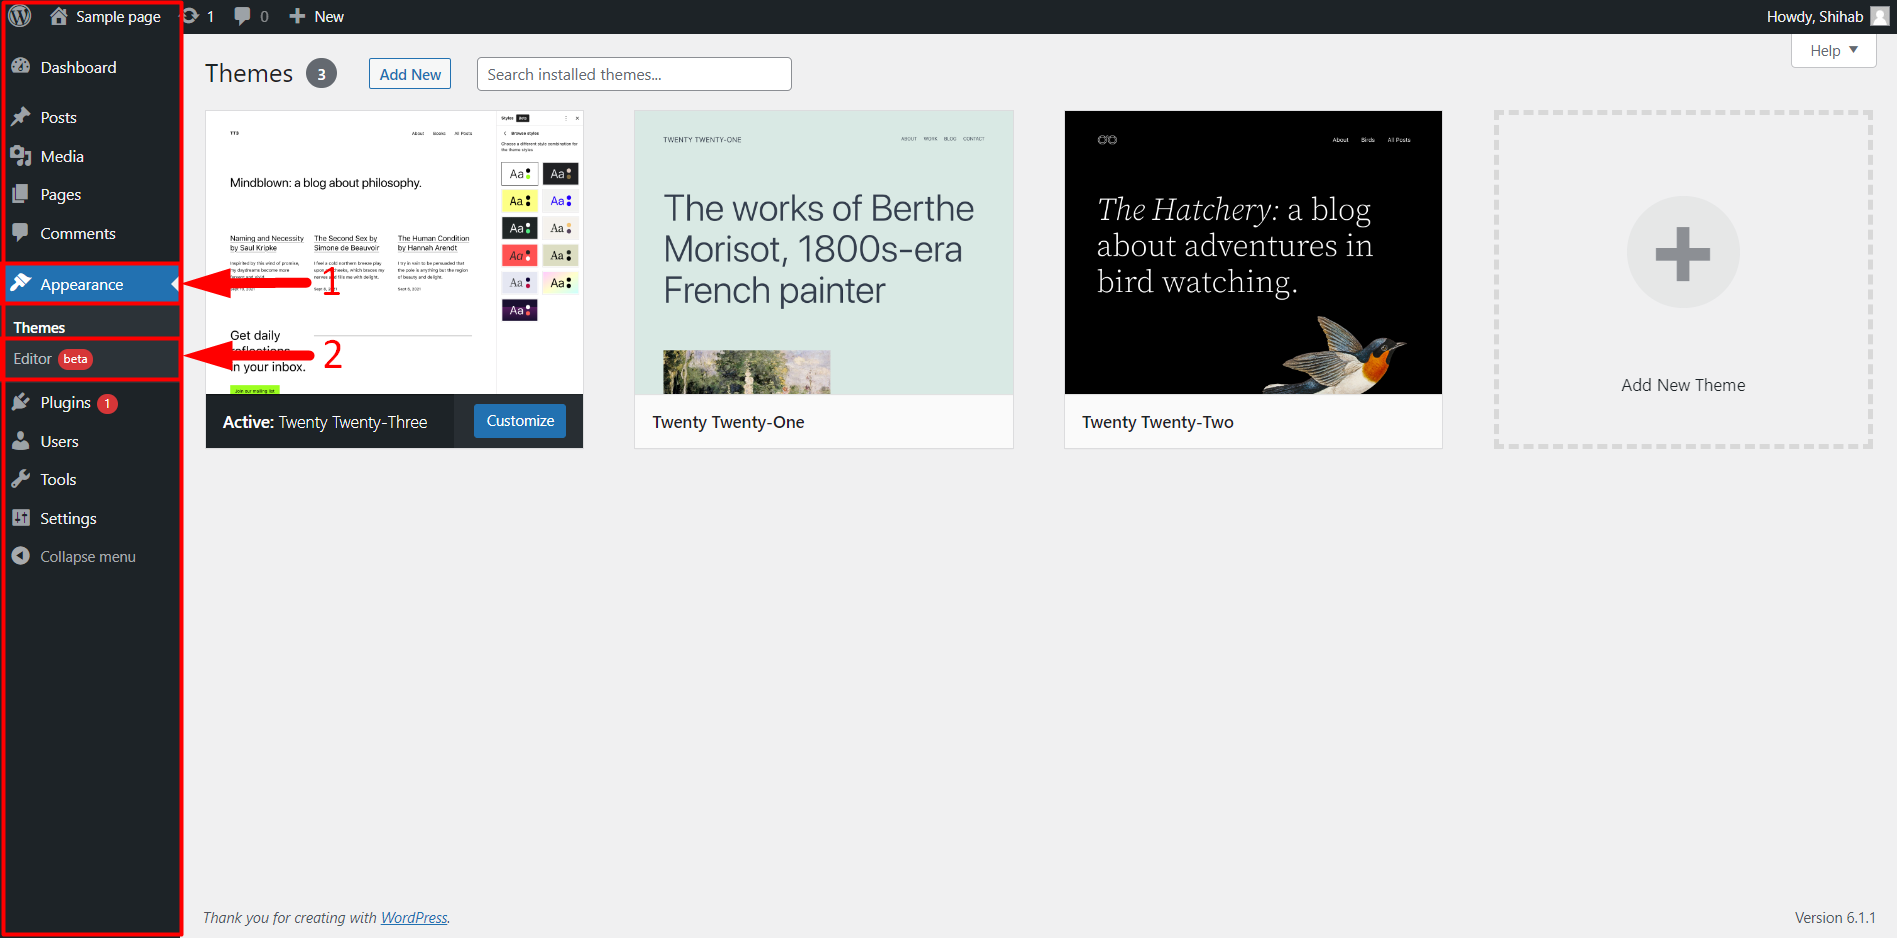
- Click on Appearance
- Click on Editor
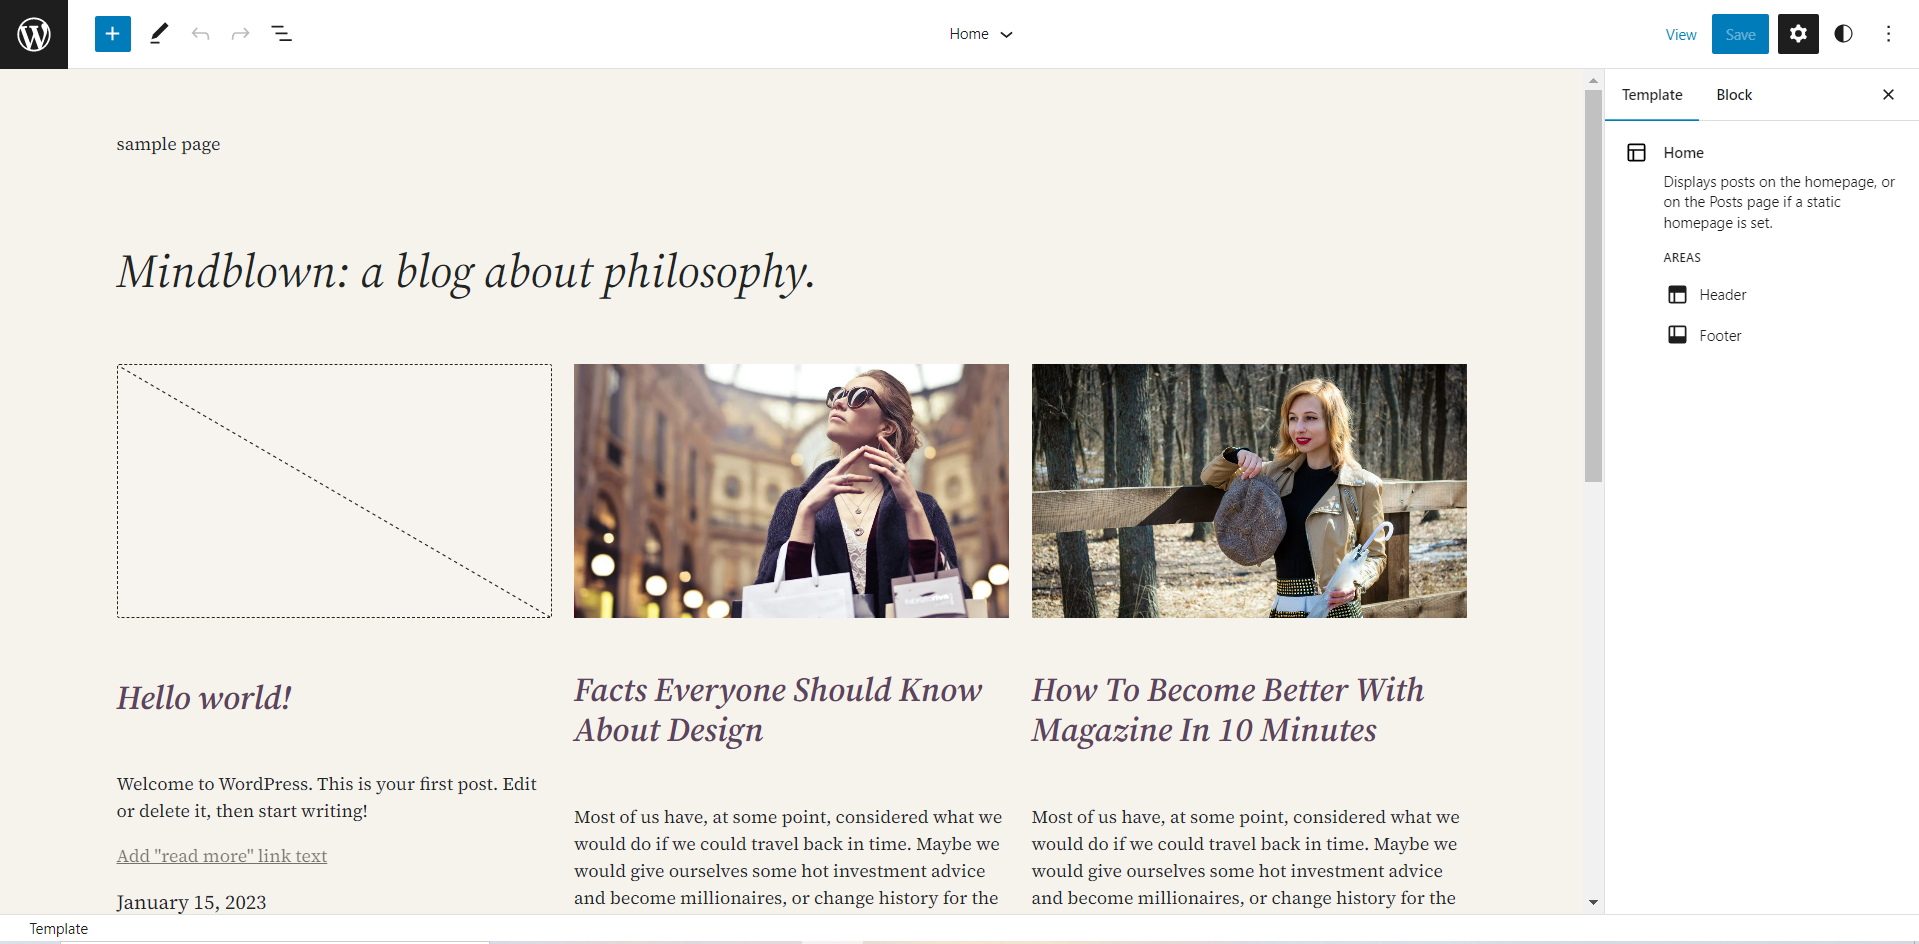
This is the Full Site Editor. The website we were working on will be displayed here. For the convenience of this tutorial, we have added a few content pieces to this sample website.
Step 3: Go to Template Parts
To add or edit a menu, there isn’t a specified location in the Full Site Editor. We can basically add or edit a menu like a Gutenberg block. Some people, especially beginners can be overwhelmed by using the block system to customize the menu.
To make menu creation easier, we could do it from the template part section in the Full site Editor.
- Click on the W logo in the top-left of the screen
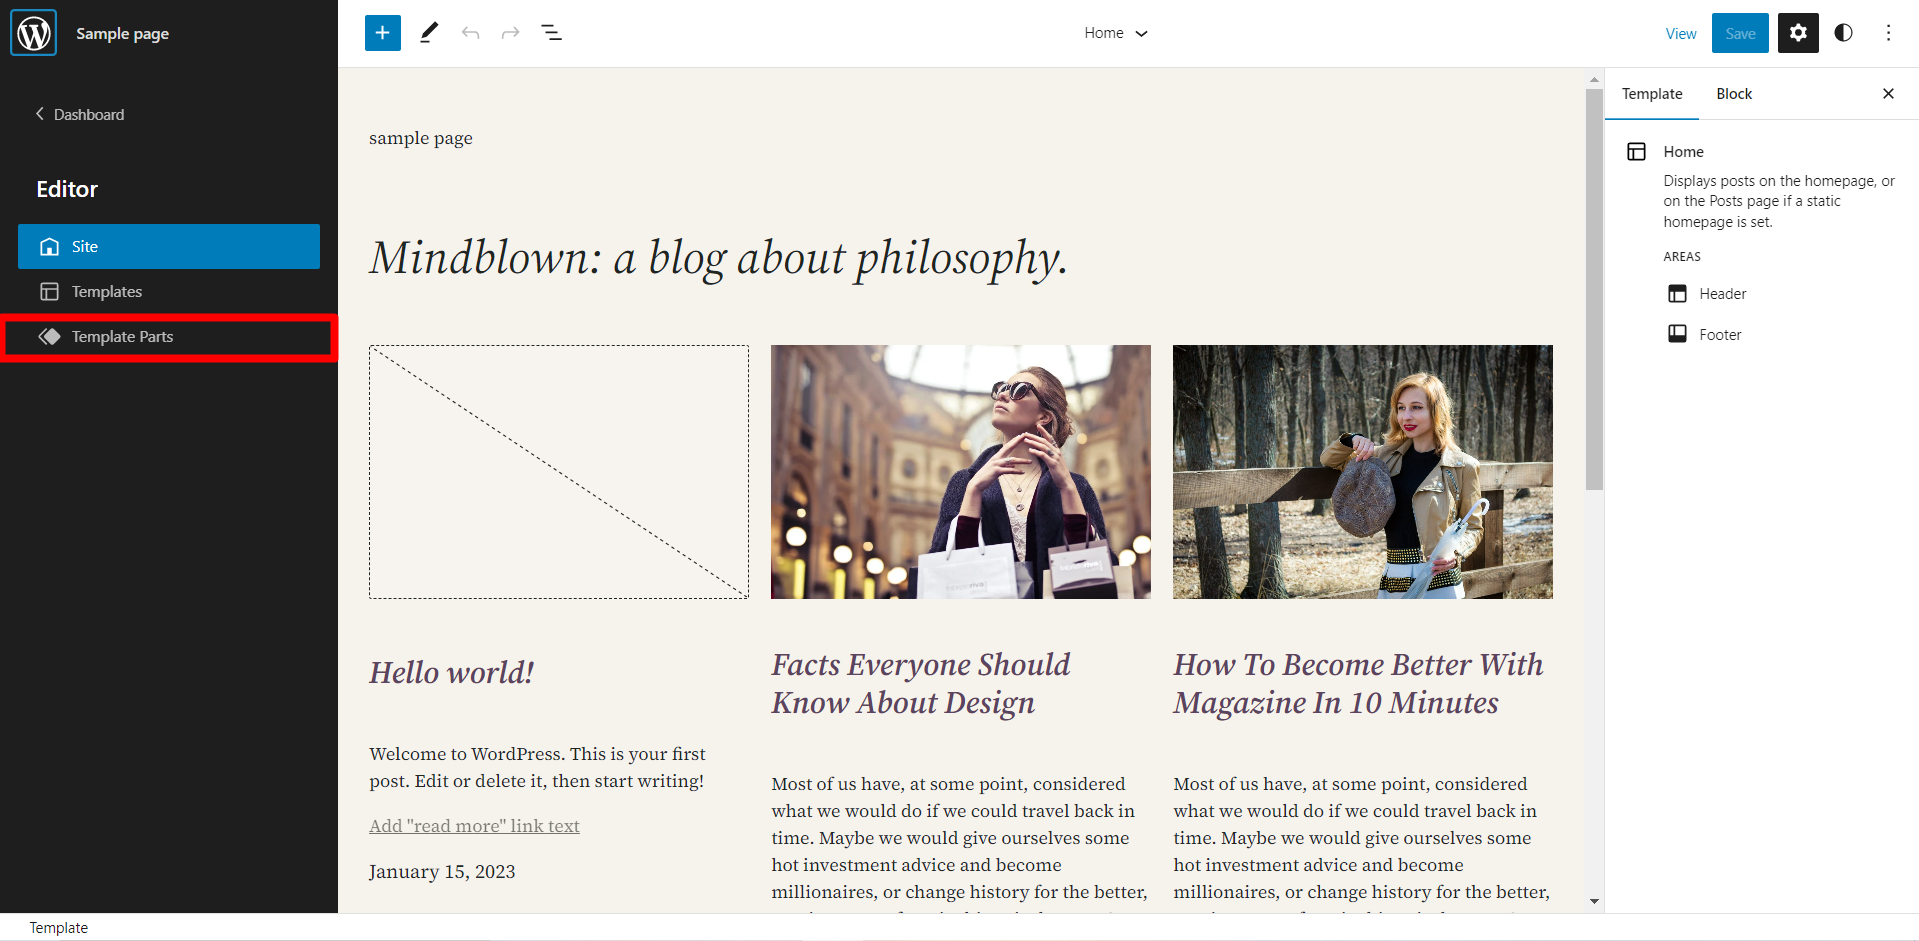
- Click on Template Parts
We are on the Template Parts page. Here, we can add or edit different templates of the website separately.
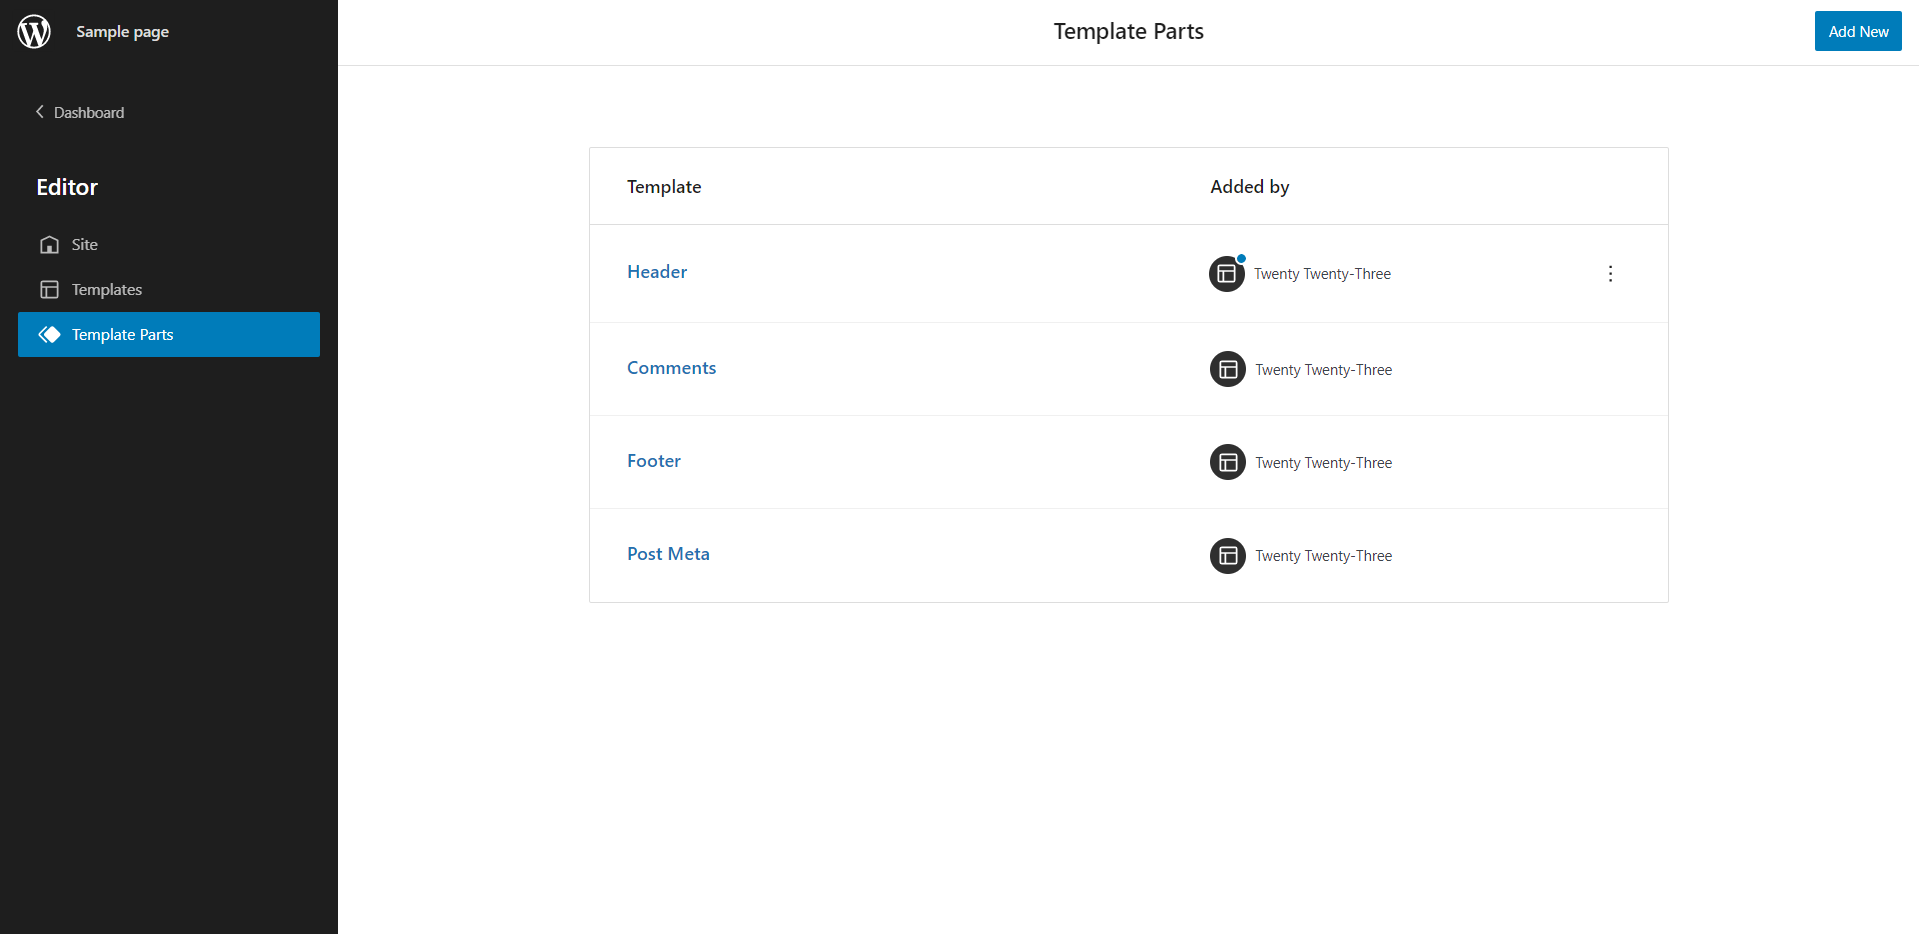
Instead of editing the whole page altogether, editing each template separately allows us to give extra attention to a specific part of the website if needed.
Step 4: Open the Header Editor
Now, we will open the header template editor. While creating our menu, we can use the Header template instead of the whole page like the Full Site Editor normally does.
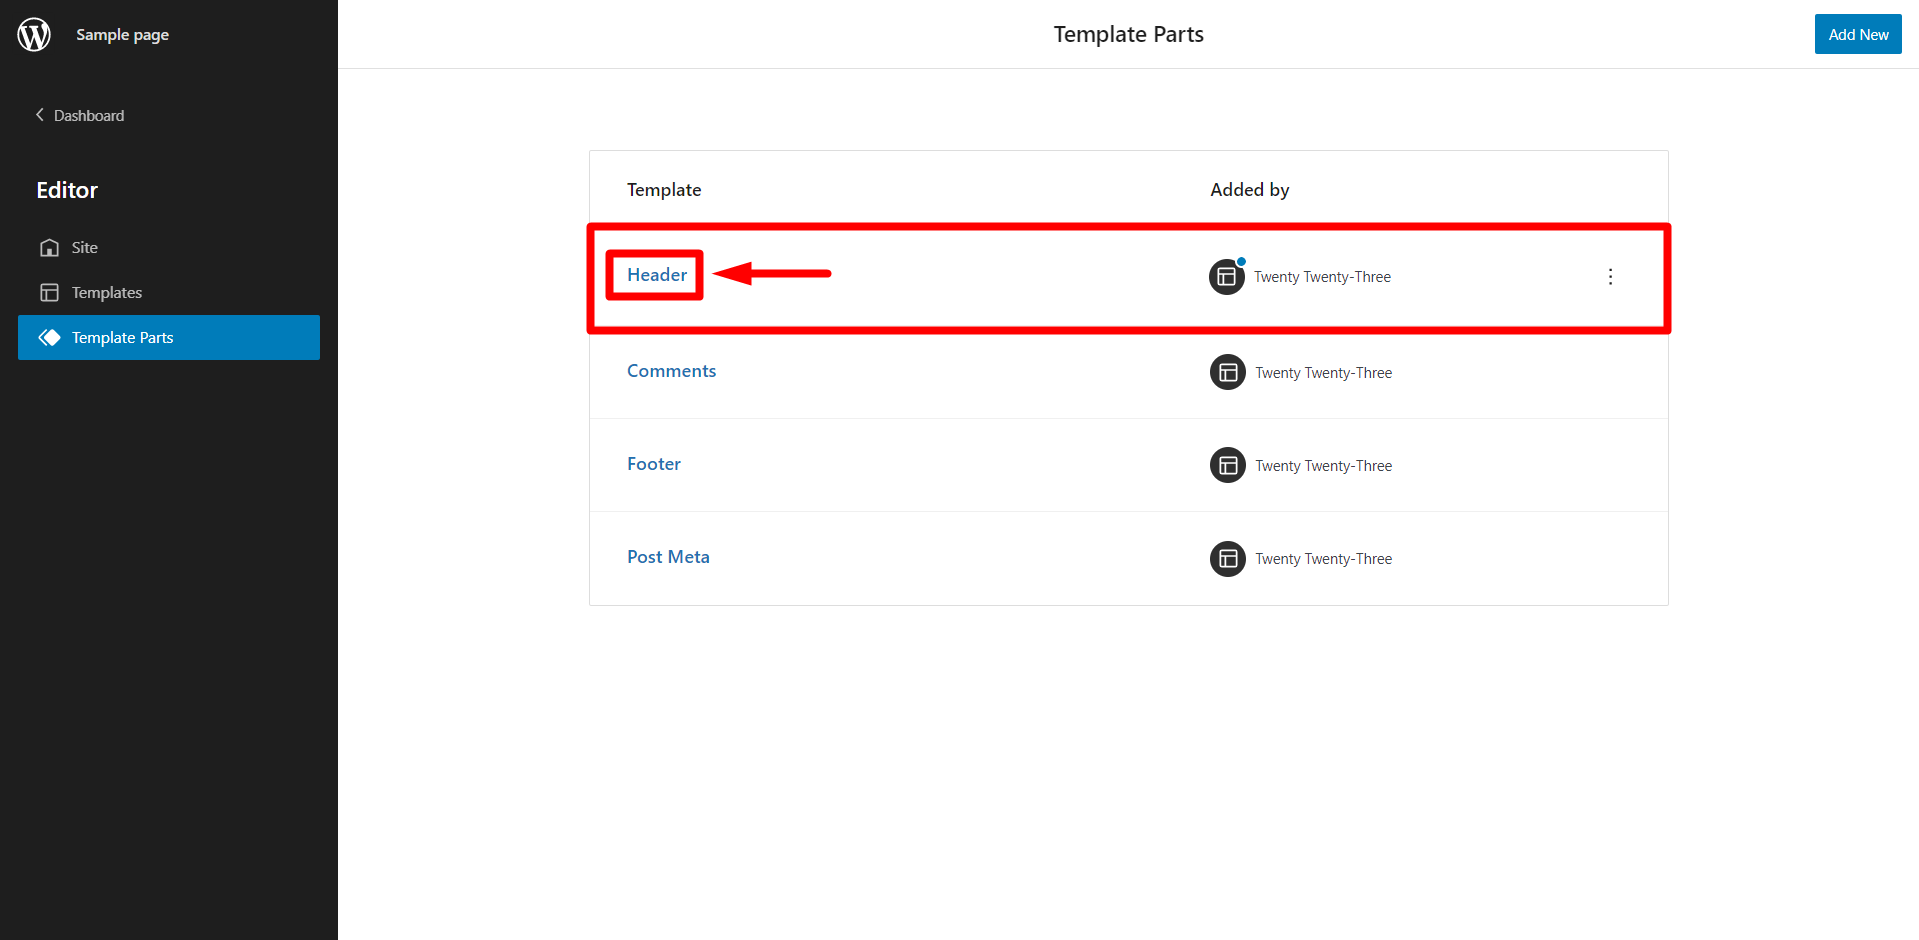
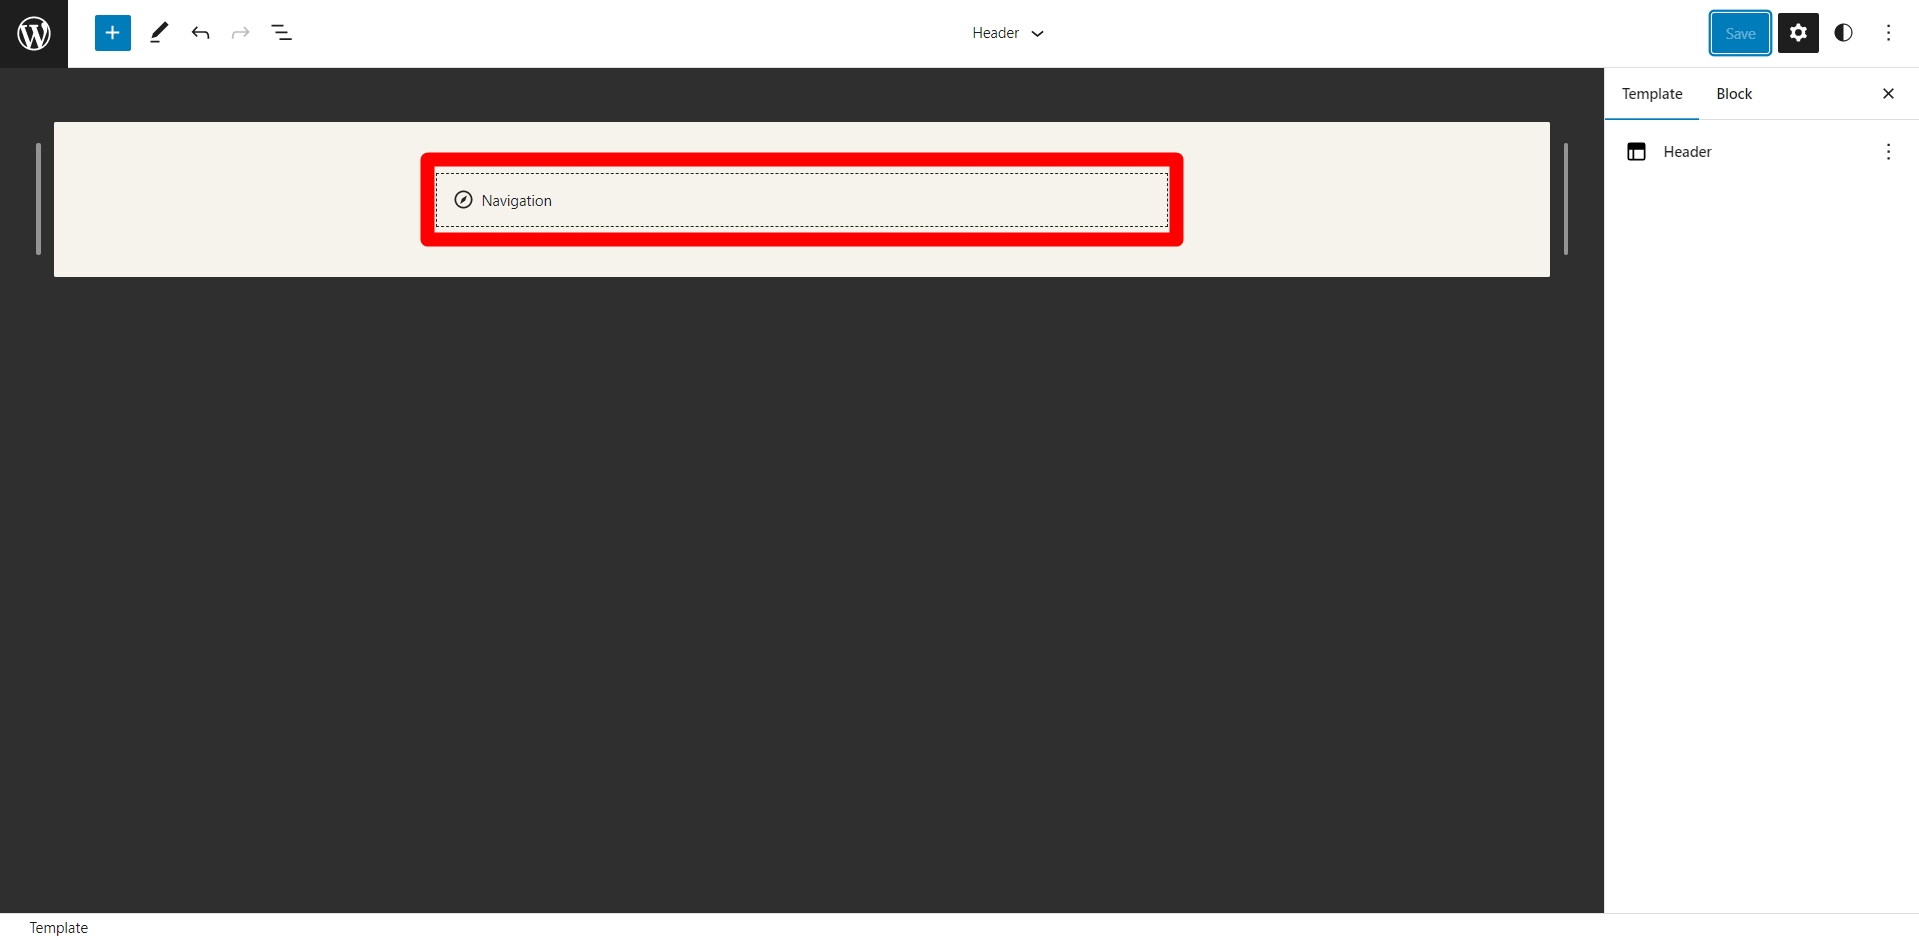
- Click on Header in the Template Parts section
This will only display the header of the website, beginners can use this to create their menu so they are not overwhelmed and lose focus.
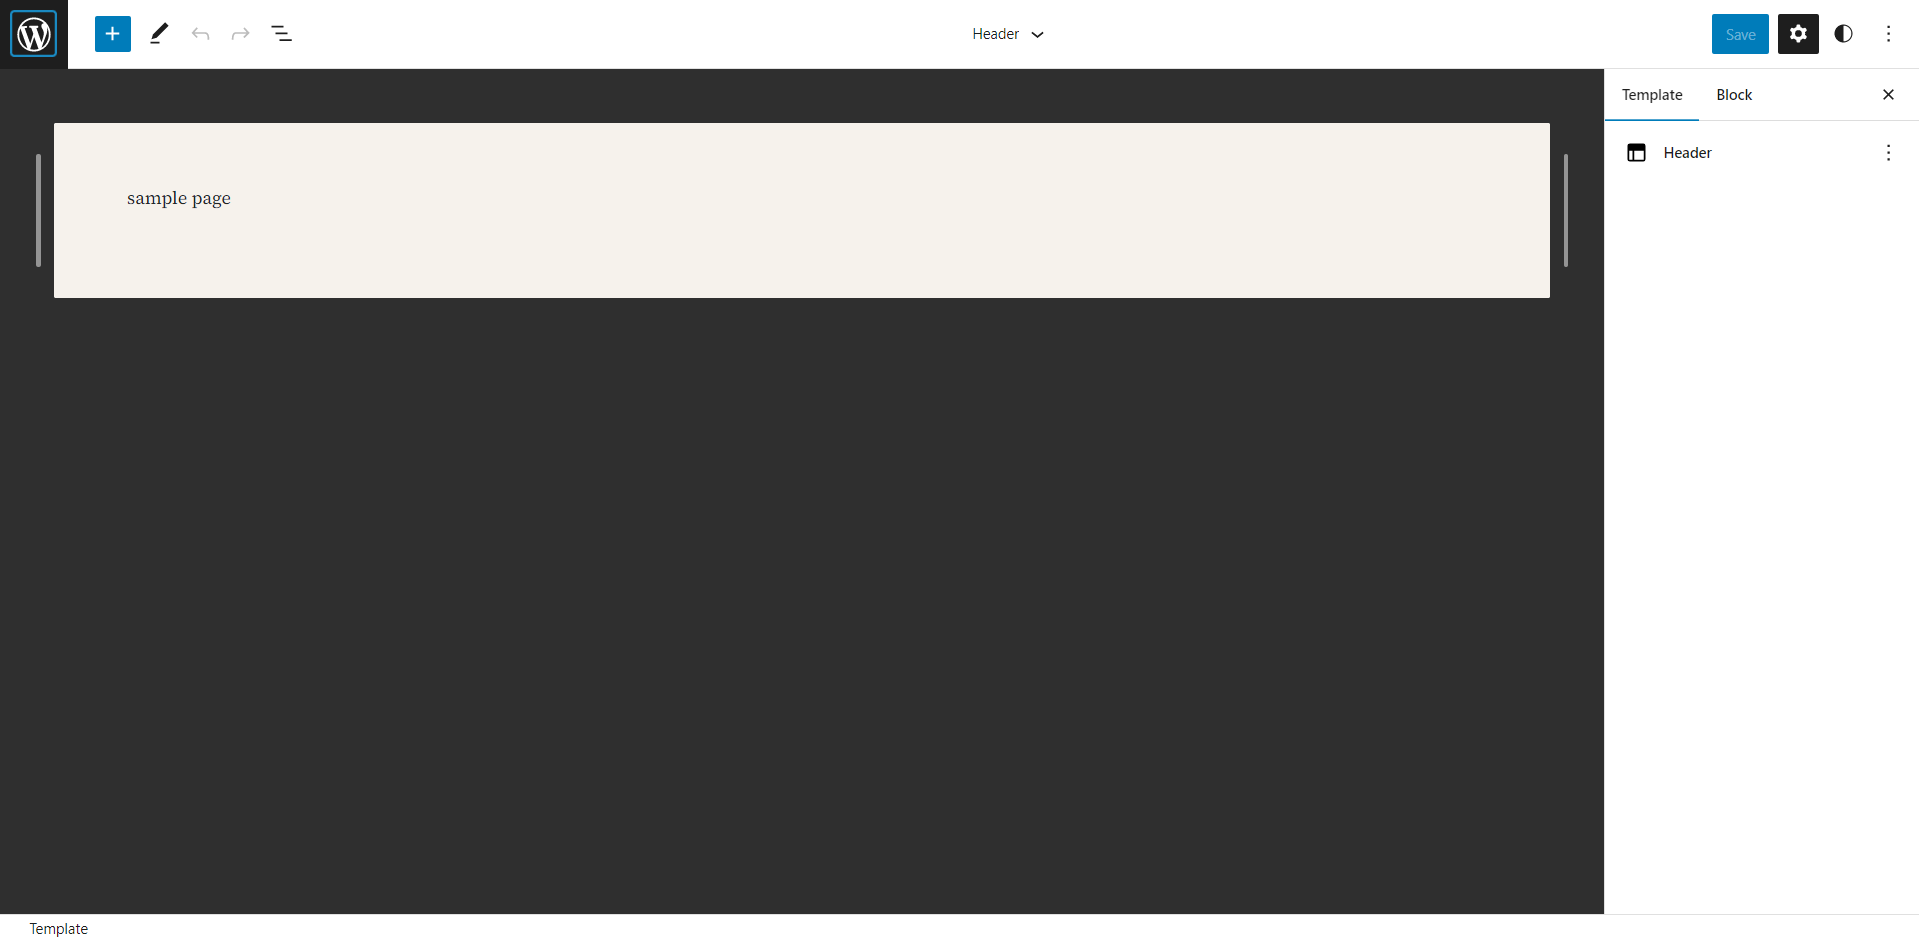
Everything that we have in the header section on our website will be included here. Since we are using a “sample page” we don’t have anything displayed in the header.
Menus are created using the Gutenberg navigation block in the Twenty Twenty-Three theme. We can create, select and edit new menus using the navigation block. The navigation block can be created anywhere on our website.
- Click on “Plus sign” to add a new block to your header
This will pop up a block menu, you can select the type of block you want. We will select the navigation block since we will use that to create our menu.
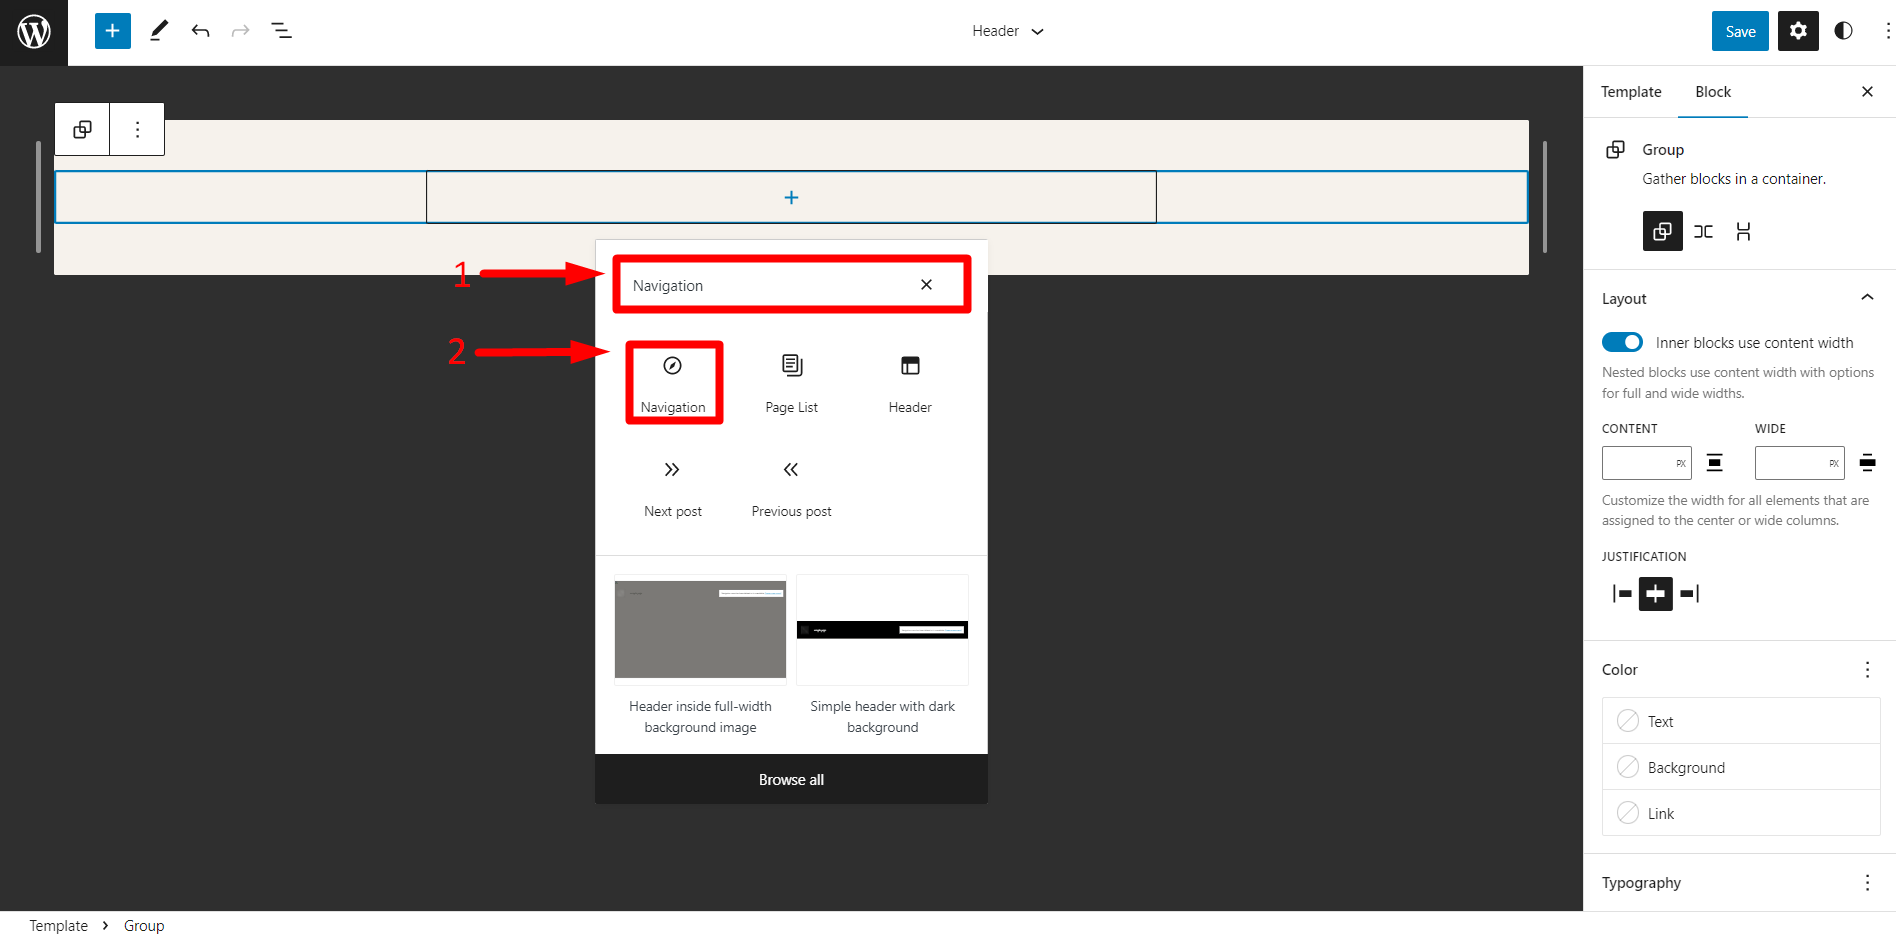
- Enter Navigation in the search section provided
- Click on Navigation
Now that we have created a navigation block, we can add items and sub items to it. Adding sub items will create a dropdown/sub-option in the navigation block.
We can add as many items as we want in the navigation block. You can link sites, pages, posts, etc., as your menu items in the navigation block. For this tutorial, we will be creating a lifestyle blog, so our menu items will reflect our website.
- Click on the Navigation block
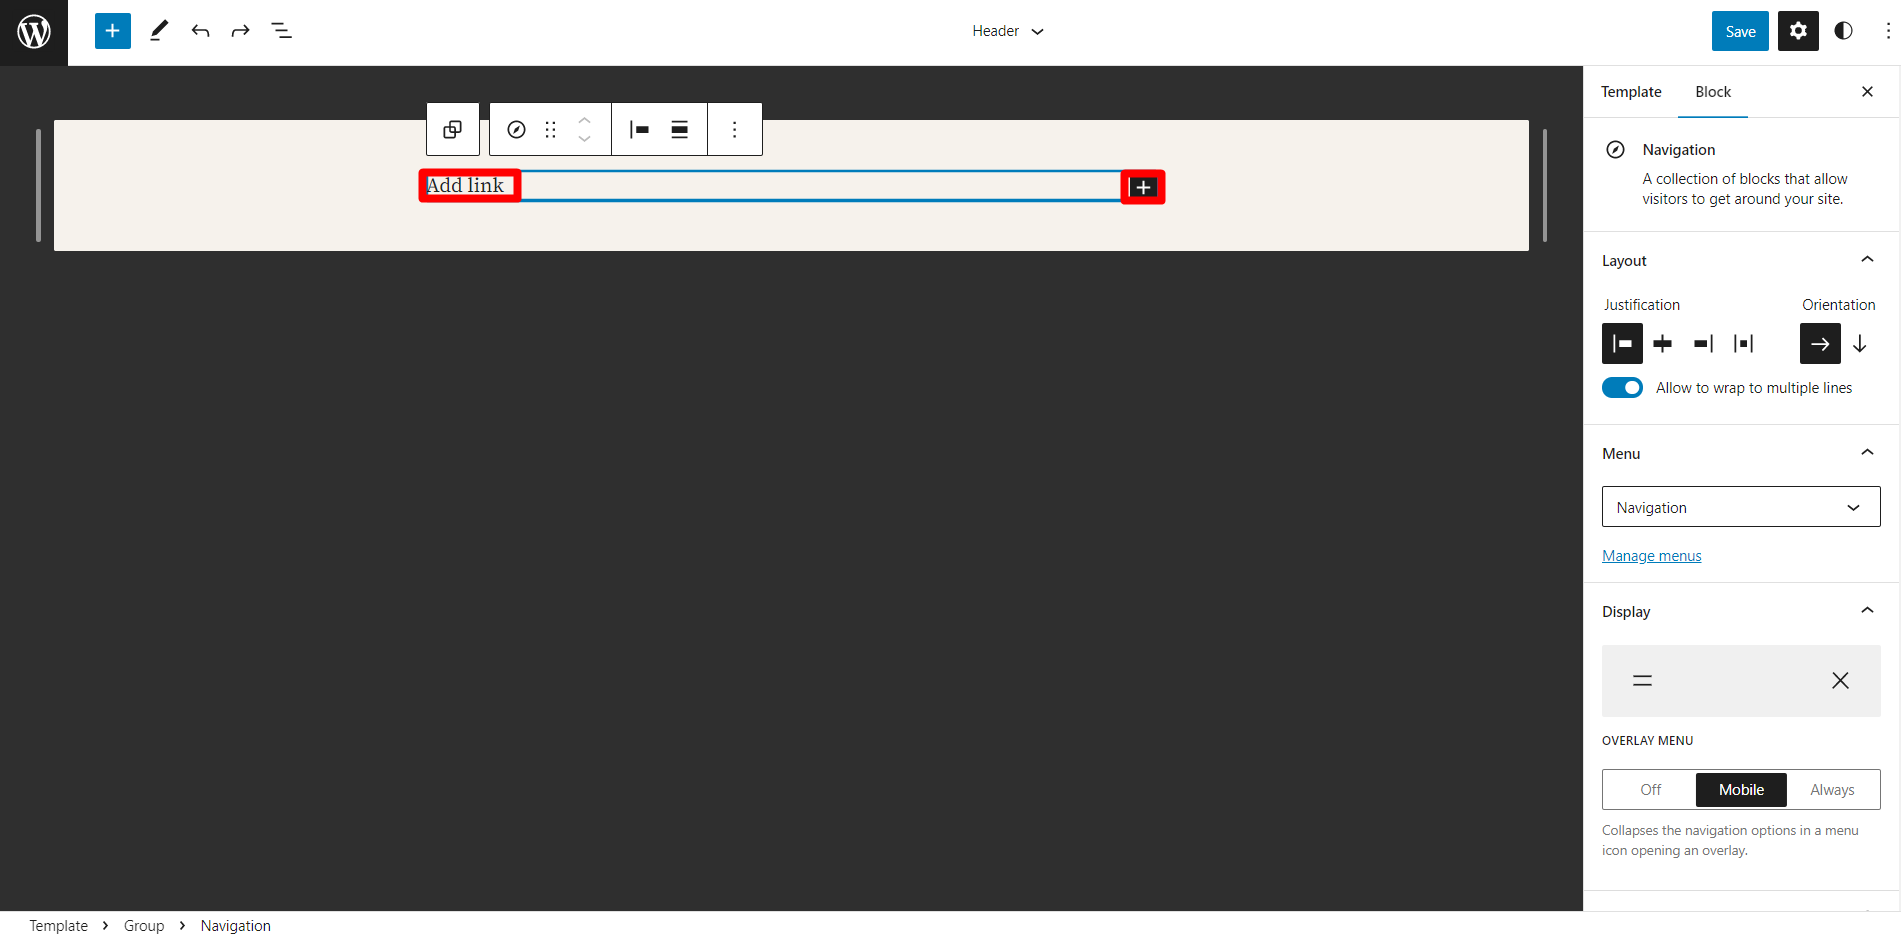
- Click on Add link or Plus sign to add the item to your navigation block
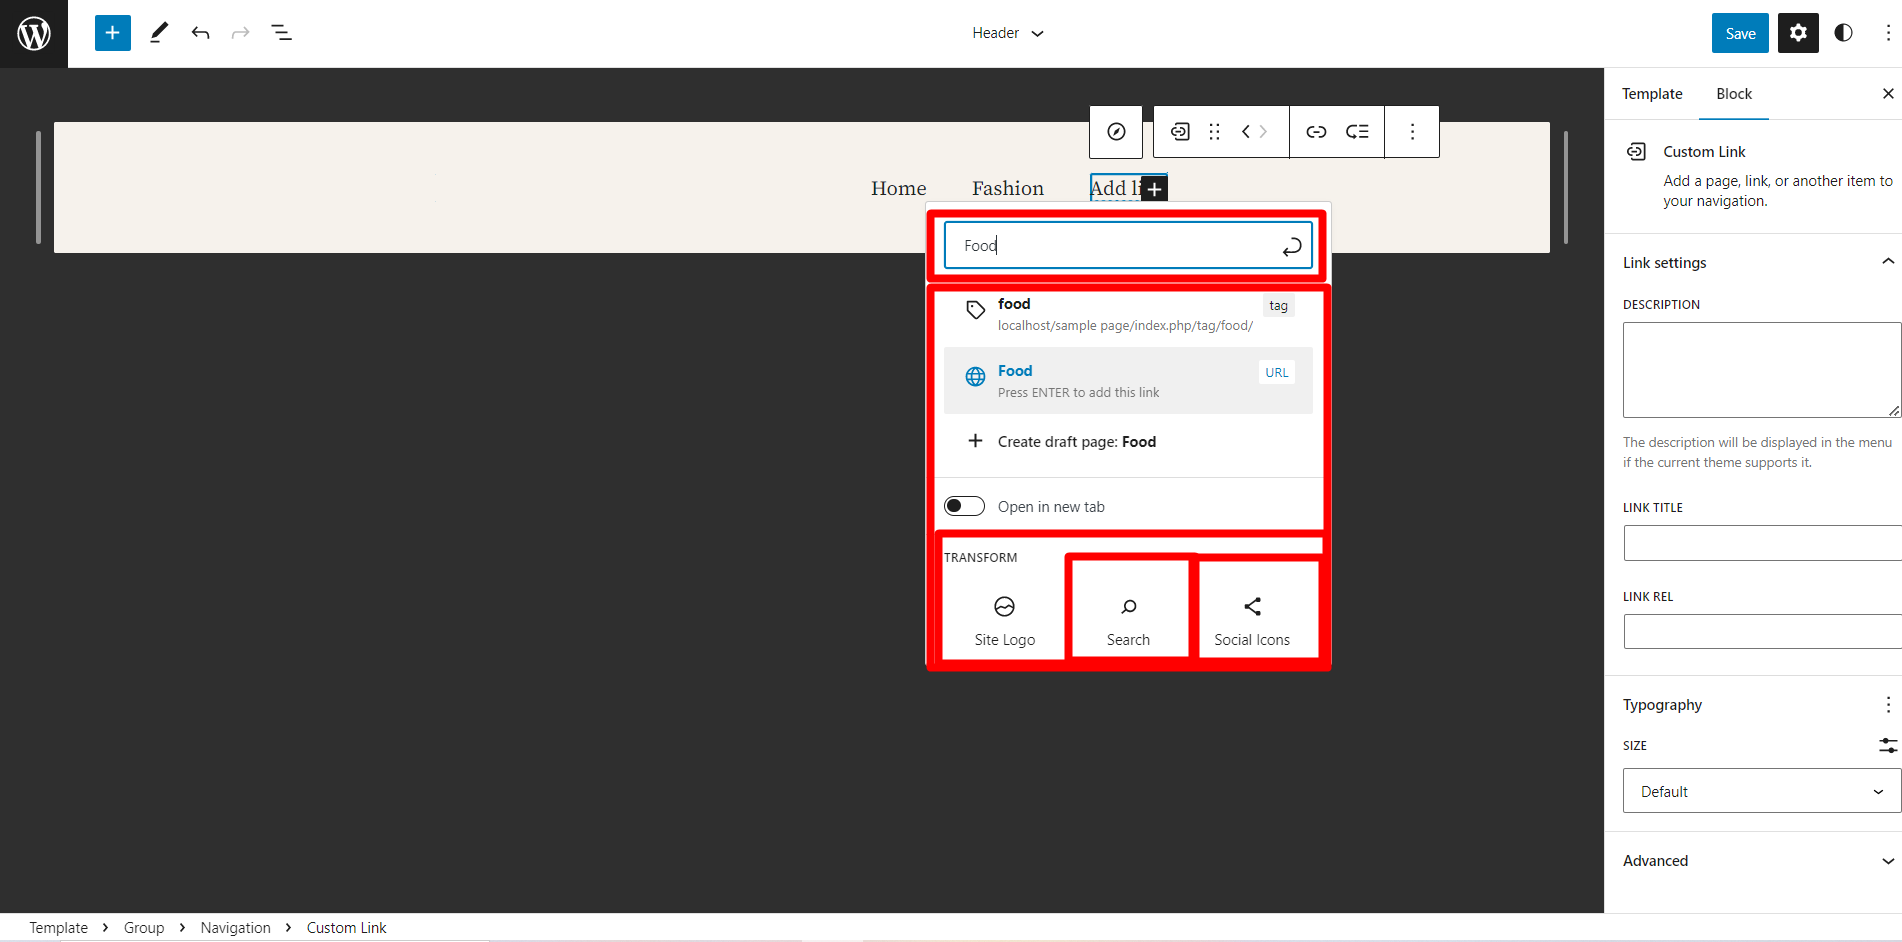
- Enter or Search Item that your want to display
- Select Site Logo, Search, and Social Icons to display them in your menu
We can also add Tags to your menu, When you click on the tag on the front end, it will take you to a page with items assigned to the tag.
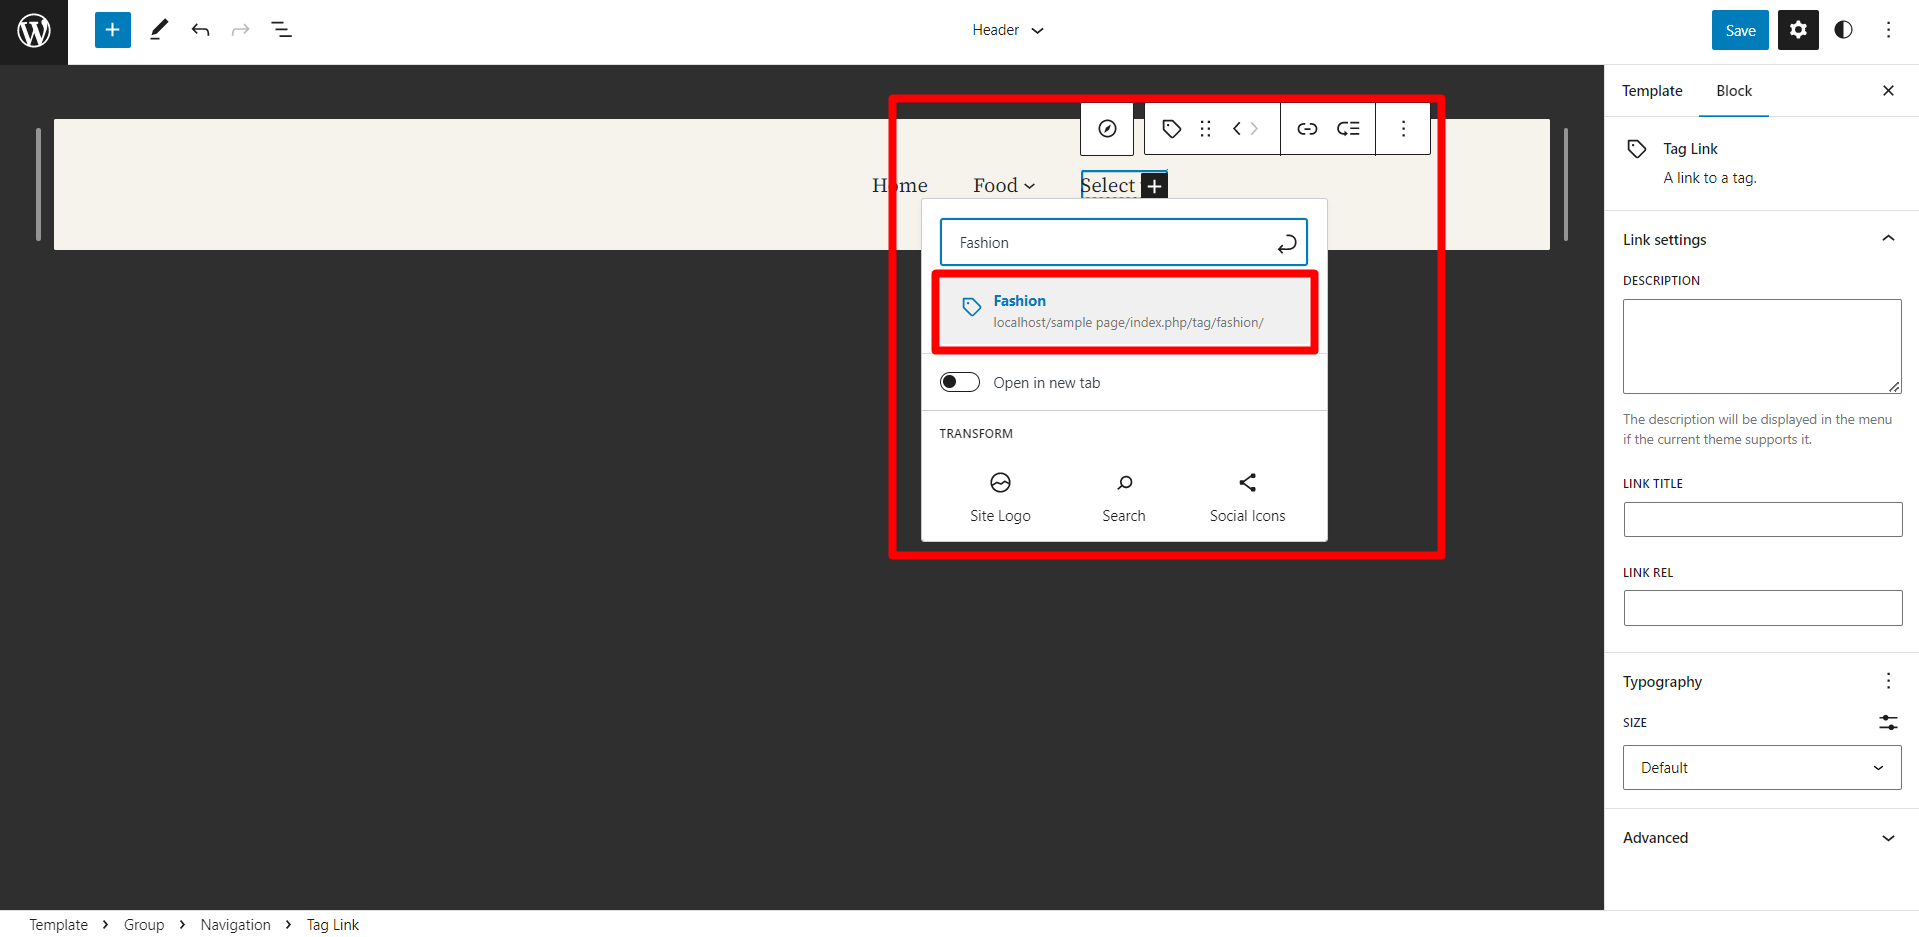
- Search for the tag in the block selector
- Select your preferred Tag.
Step 7: Add Sub Items to your Menu Items
Adding sub-items to your main items while creating a dropdown/sub-menu. This is especially great to display items that are related to each other. In the figure below, we added Fashion related posts as sub items, so that the visitors are shown the fashion-related items that we want to display.
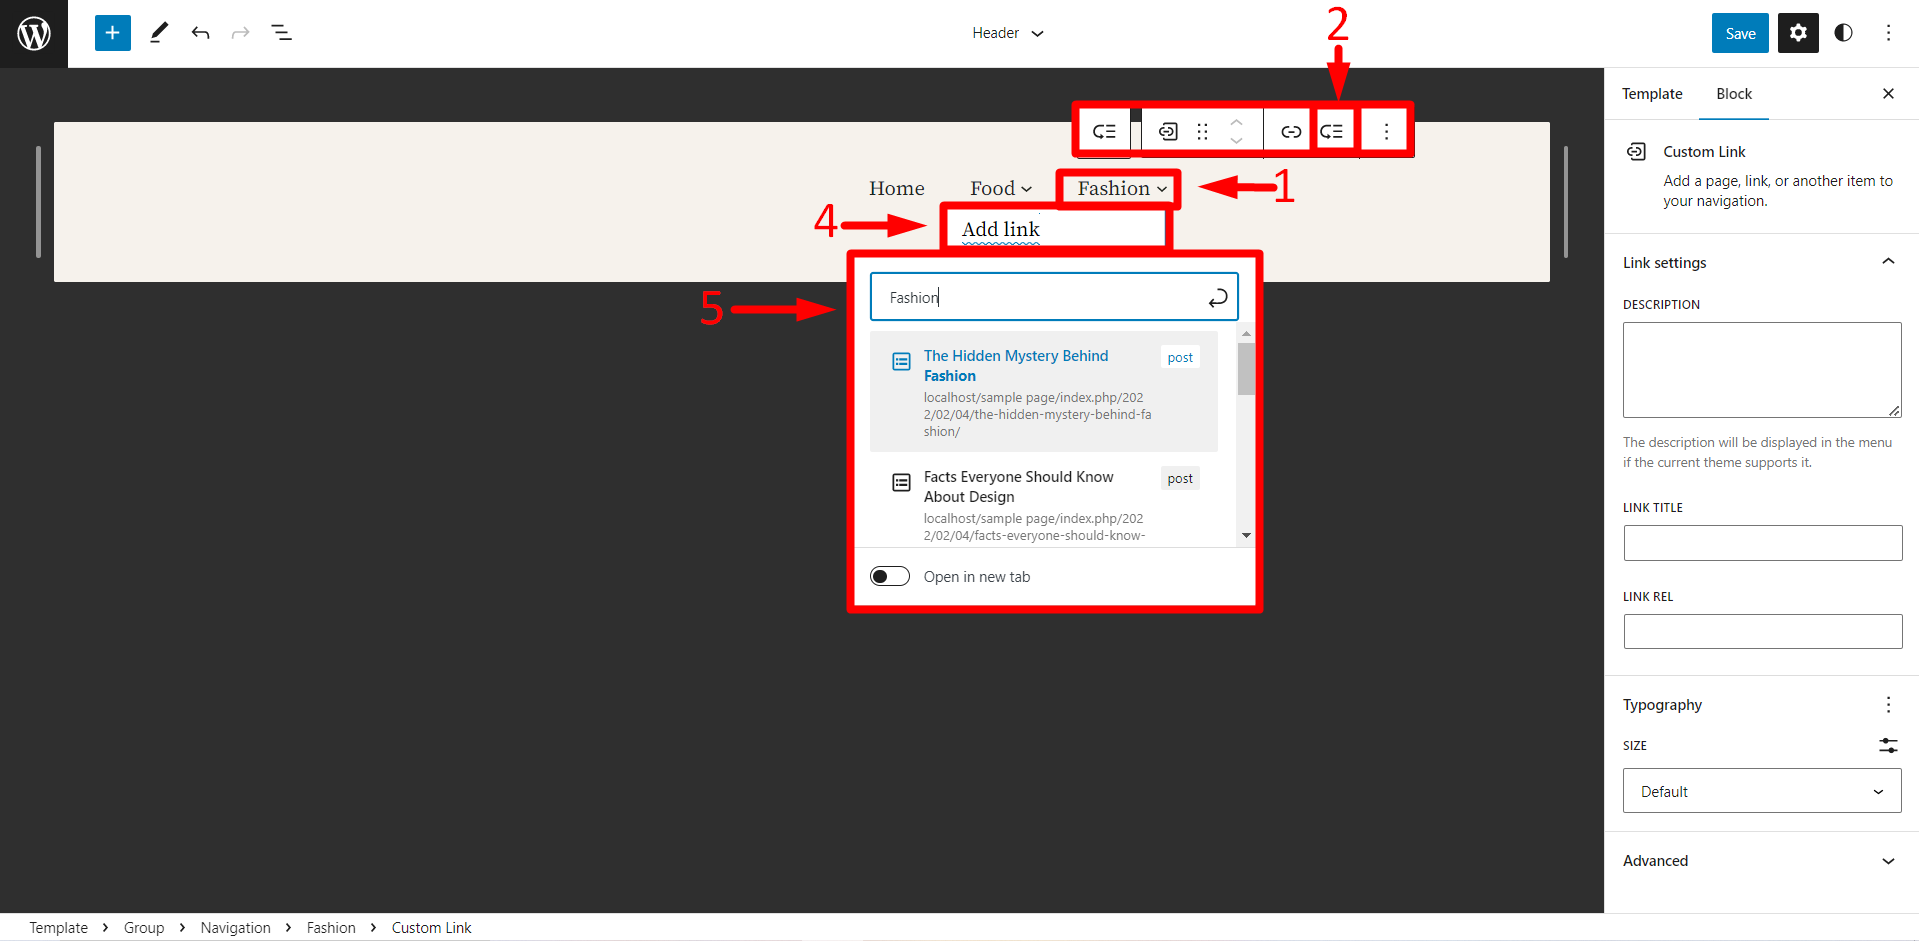
- Click on the item you want to add sub items.
- Click on the “Add Submenu” option in the toolbar.
- Add links or items you want to be displayed.
Step 8: Save Changes
It is very important to save changes so that we do not lose our progress. WordPress Twenty Twenty-Three theme prompts us to check which changes we want to be saved. We can decide if we want to leave behind certain elements and go ahead with others.
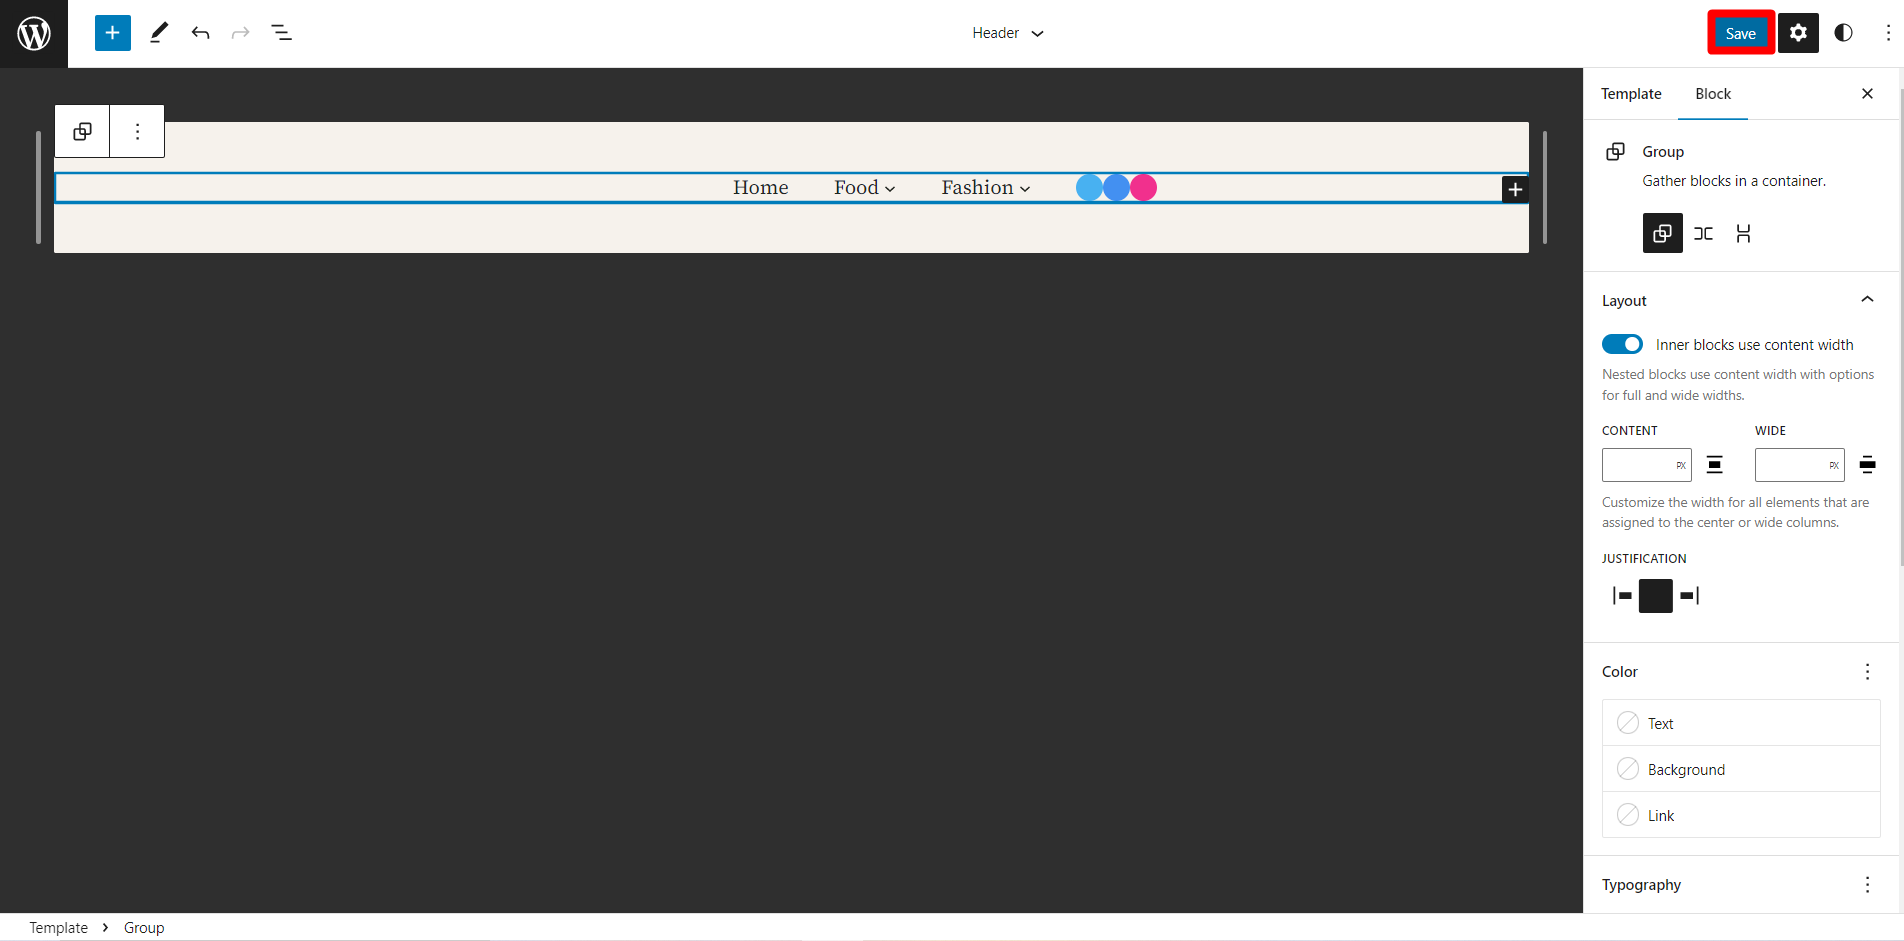
- Click on Save in the top right corner of the screen
The changes we have made are preselected. But, we can manually unselect the items we do not want to save.
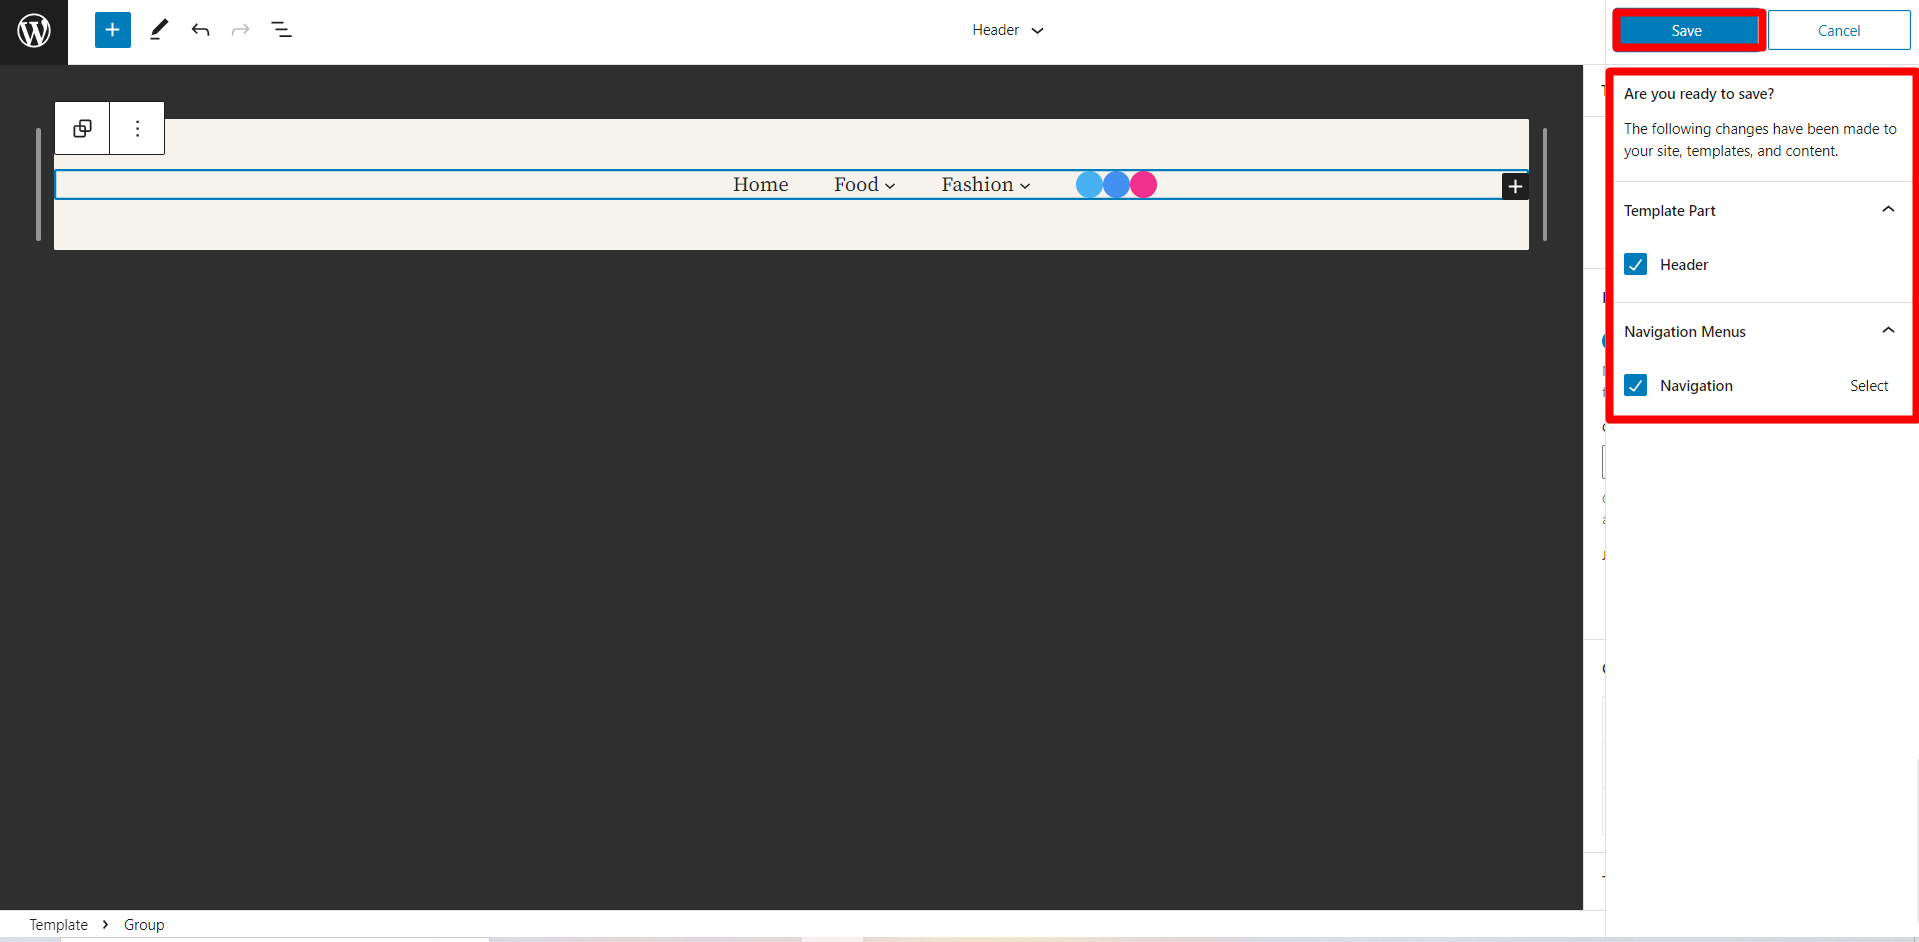
- Select and Unselect changes made if needed
- Click on Save to finalize the changes
Conclusion
With that, we have come to the end of this tutorial. Twenty Twenty-Three theme is still fresh and the Full Site Editor tool still feels like uncharted territory for some.
To find out more about menu customization, check out our youtube video and our blog post.
We are constantly updating our website and will have more tutorials, guides, and Tips & Tricks on the Twenty Twenty-Three theme in the near future. If you want to learn more WordPress-related topics and tutorials you can click here.